Summary
The following guide can be used to replace the glow plug in a Waru Dryer air heater. A failed glow plug will cause a dryer to spin but not heat, ultimately leading to poor dryer performance.
Error Code
Only replace the glow plug if the red LED light on the front of the dryer control panel is flashing 9 times, refer to the Waru Dryer Troubleshooting article for more information. Always check that the number of flashes is correct.
Before Starting
Ensure you have a spare glow plug and a glow plug removal tool available before proceeding. These parts can be sourced from service operations. Do not proceed if these parts are not available.
Accessing the Air Heater
Check and confirm which dryer needs maintenance and then isolate this dryer from 12V and 240V power in the vehicle/system. Refer to a vehicle leader or HQ representative for assistance.
Determine whether the air heater can easily be accessed from inside the vehicle (note this is vehicle dependent). The following table outlines which dryer is or isn't accessible and how to proceed. Note that the dryers are numbered 1-4 from left to right in every vehicle.
| Vehicle | Dryer 1 | Dryer 2 | Dryer 3 | Dryer 4 |
| Remote Vehicles | Remove | Remove | Easily accessible from the canopy access door | -- |
| Laurie (SV1.9) | Remove | Remove | -- | -- |
| Jimmy (HV1.9) | Remove | Remove | -- | -- |
| Tubbsy (LV1.9) | Easily accessible from drivers side seat | Remove | -- | -- |
| Rosco | Remove | Remove | Remove | Remove |
| Sudsy | Easily accessible from drivers side seat | Remove | -- | -- |
| Laundry Pods | Easily accessible from rear compartment | Easily accessible from rear compartment | -- | -- |
For information on how to remove a Waru Dryer, please refer to How to Remove a Waru Dryer.
Replacing the Glow Plug
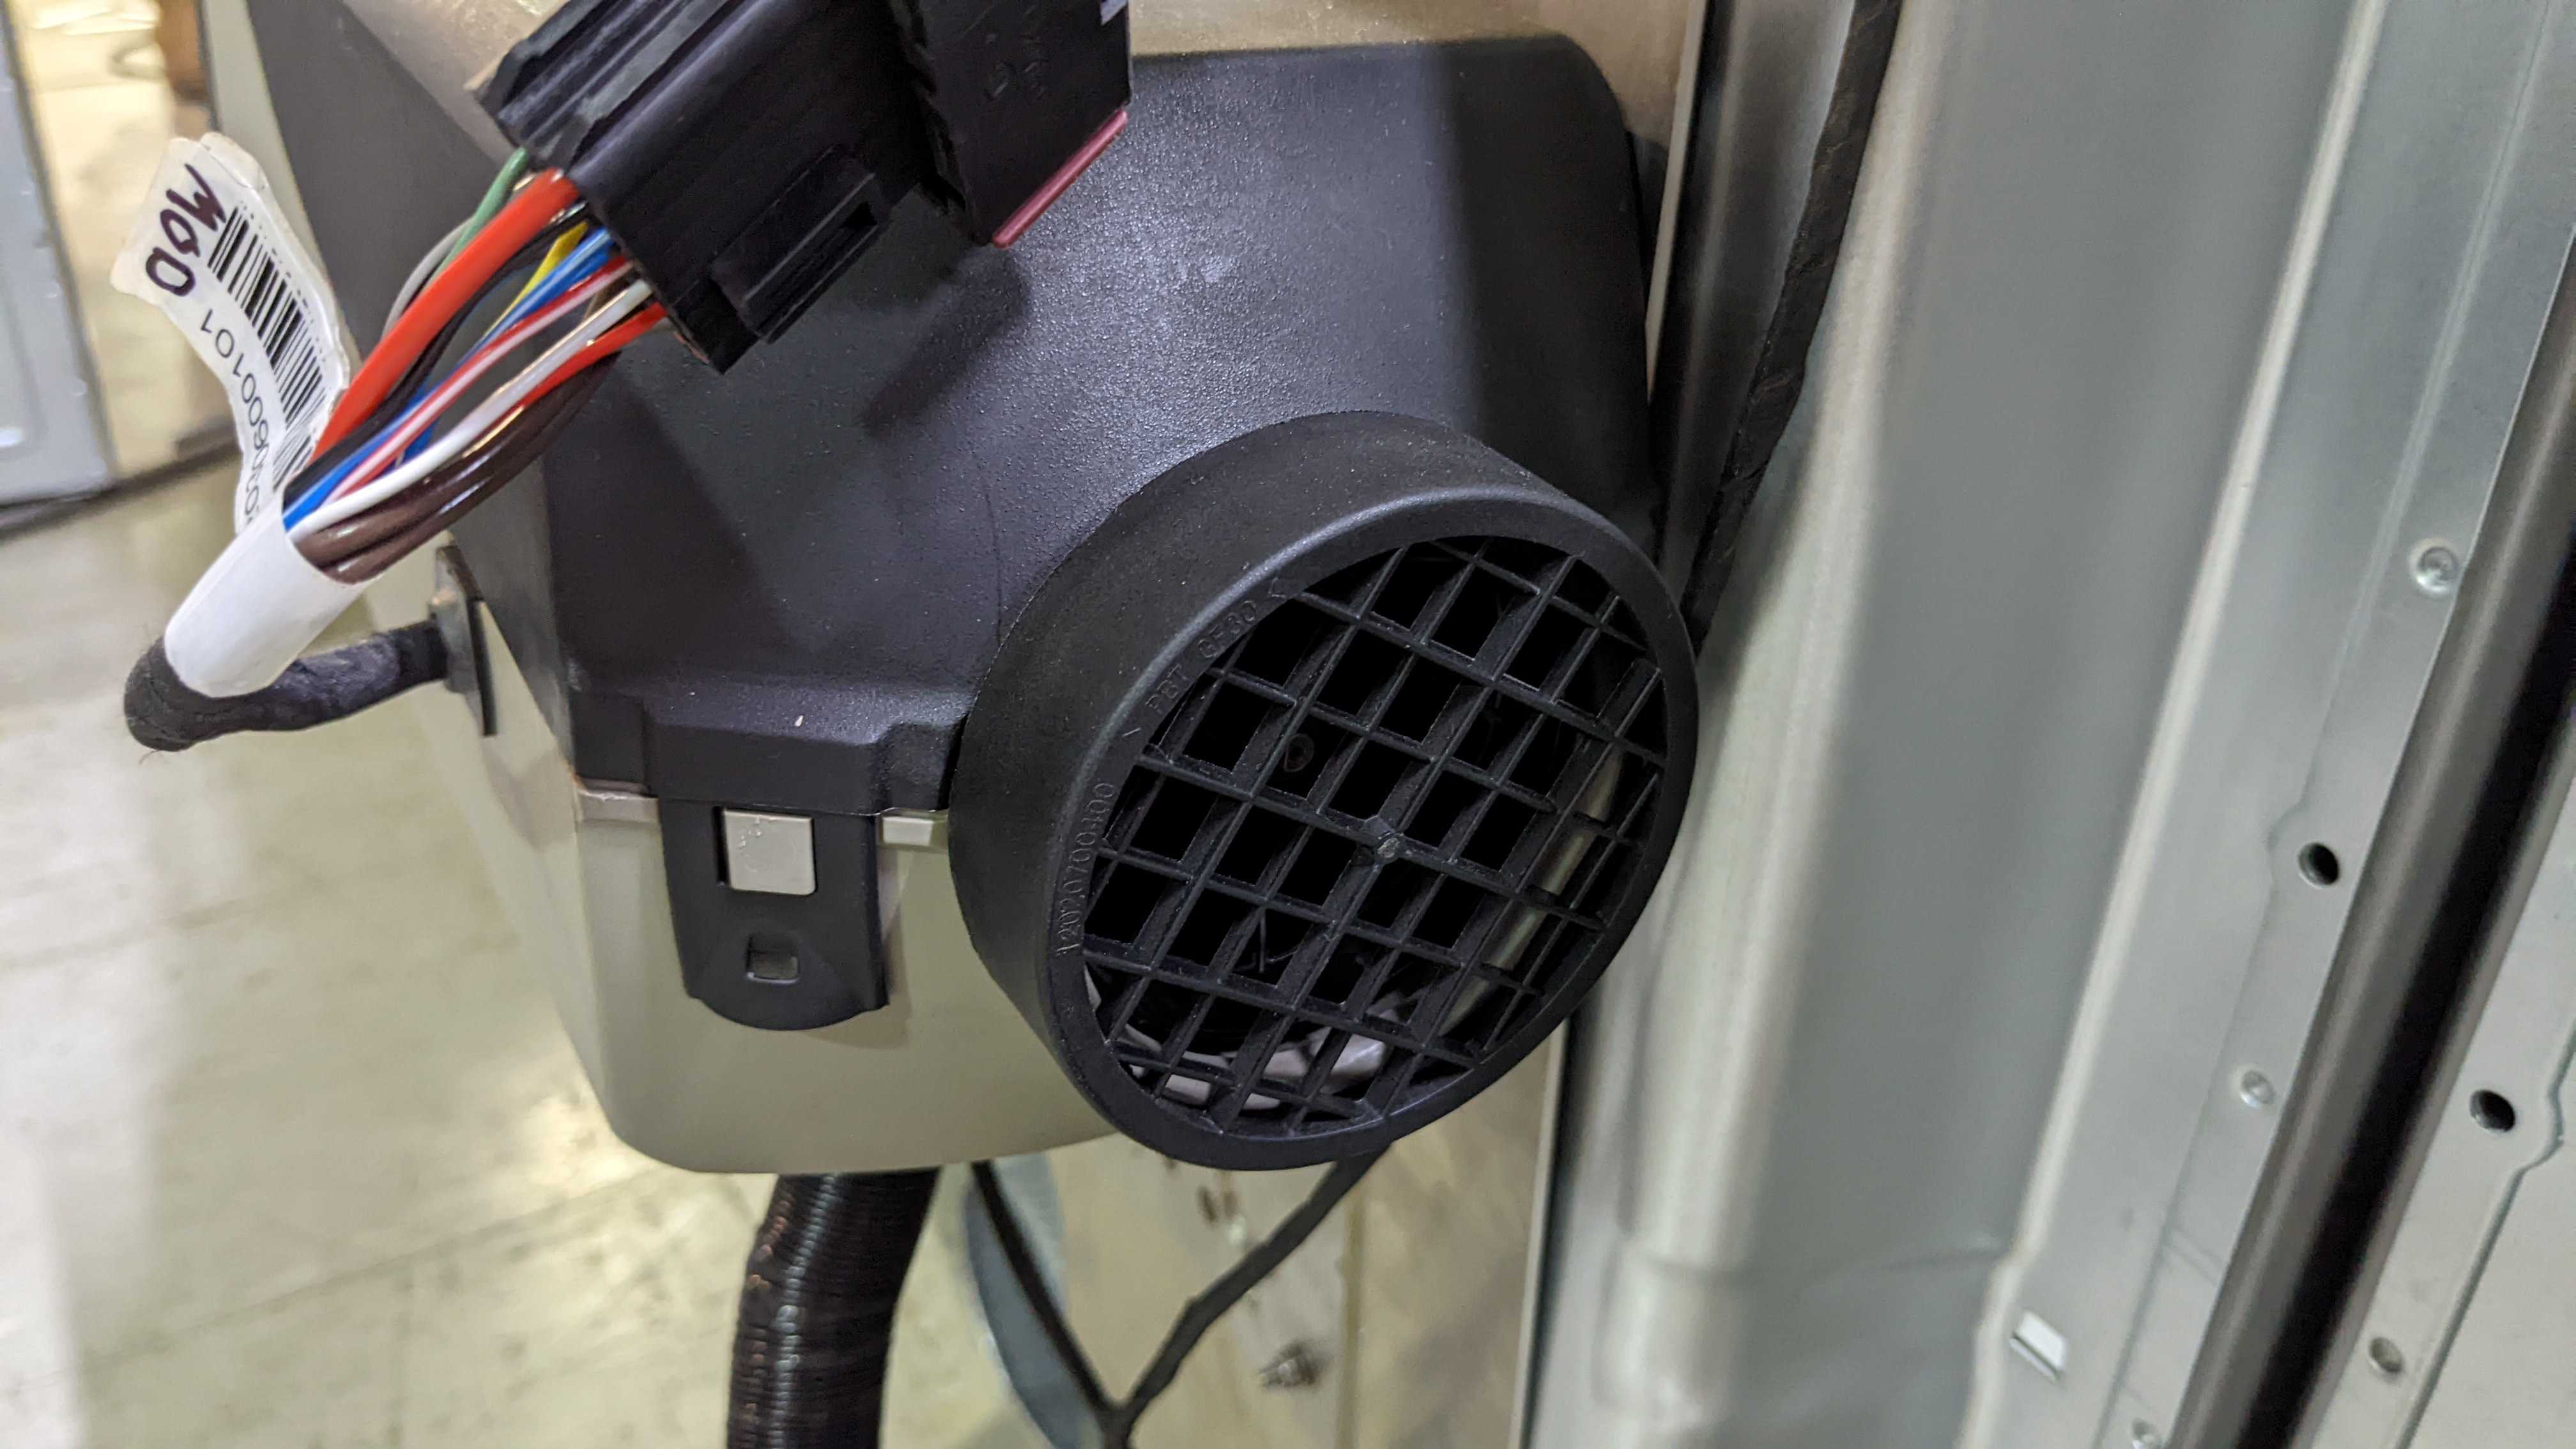
1. Access the rear of the Waru Dryer. The air heater is mounted to the rear plate as shown below.

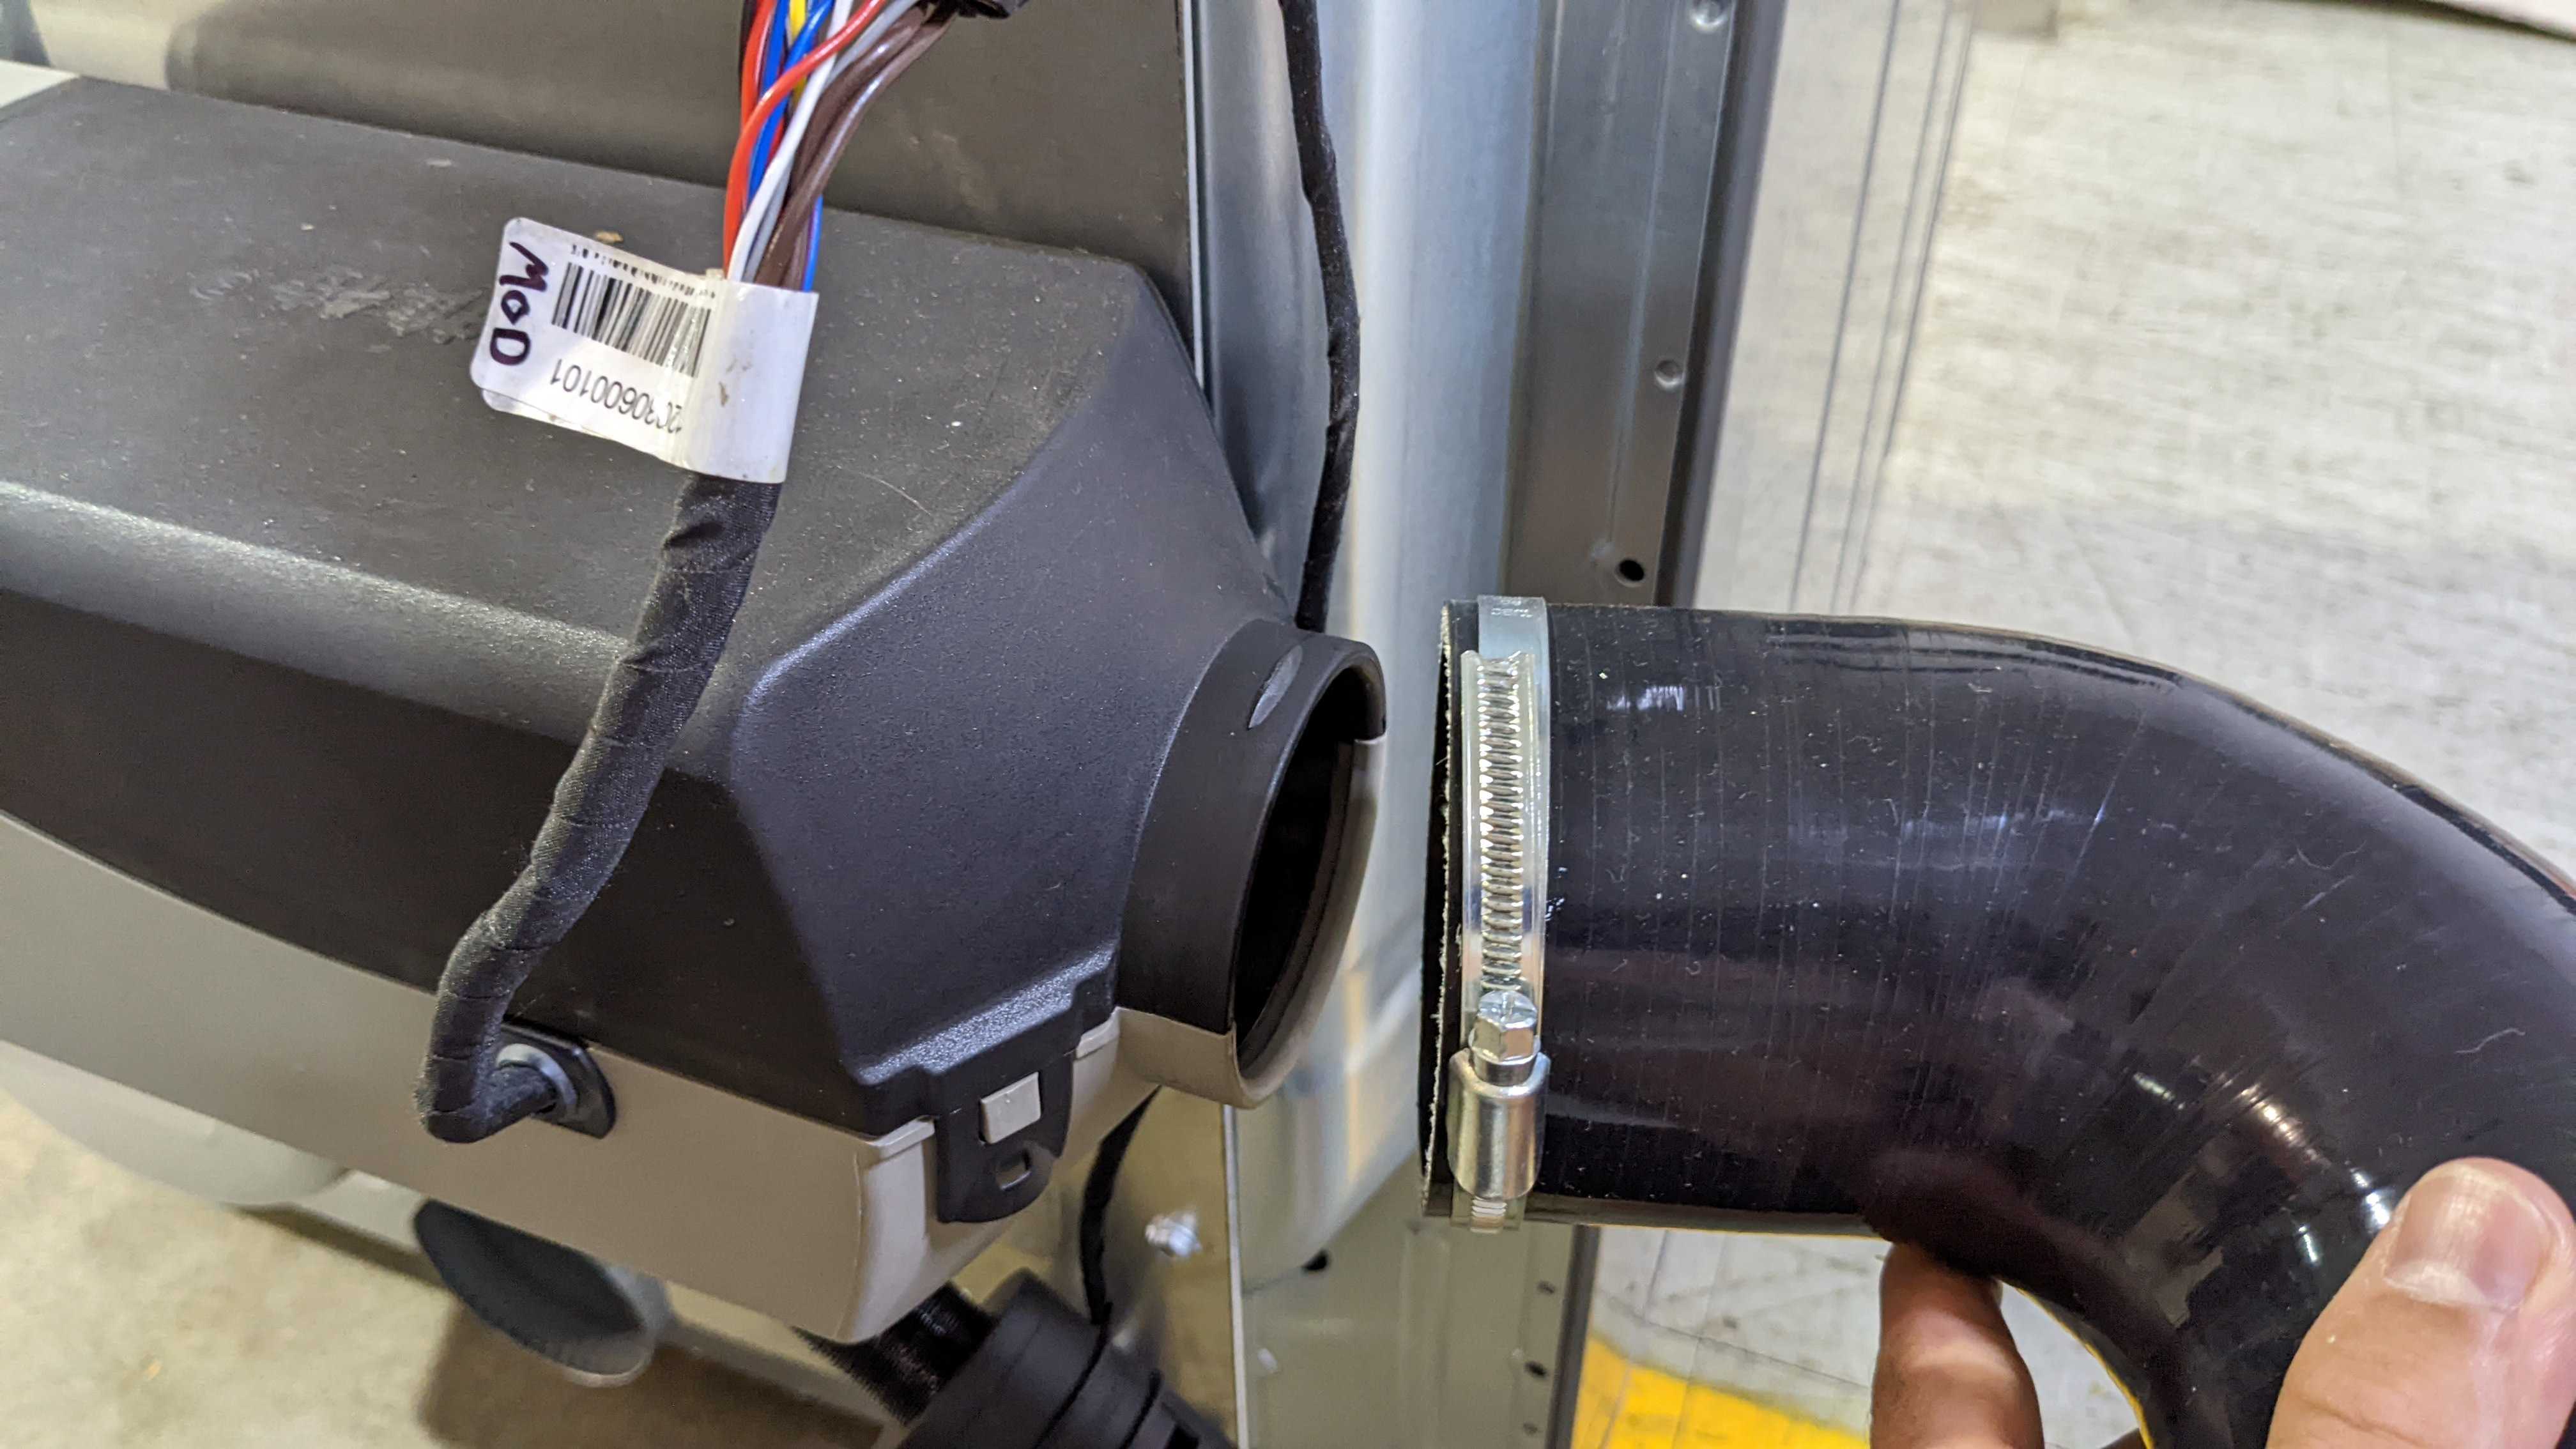
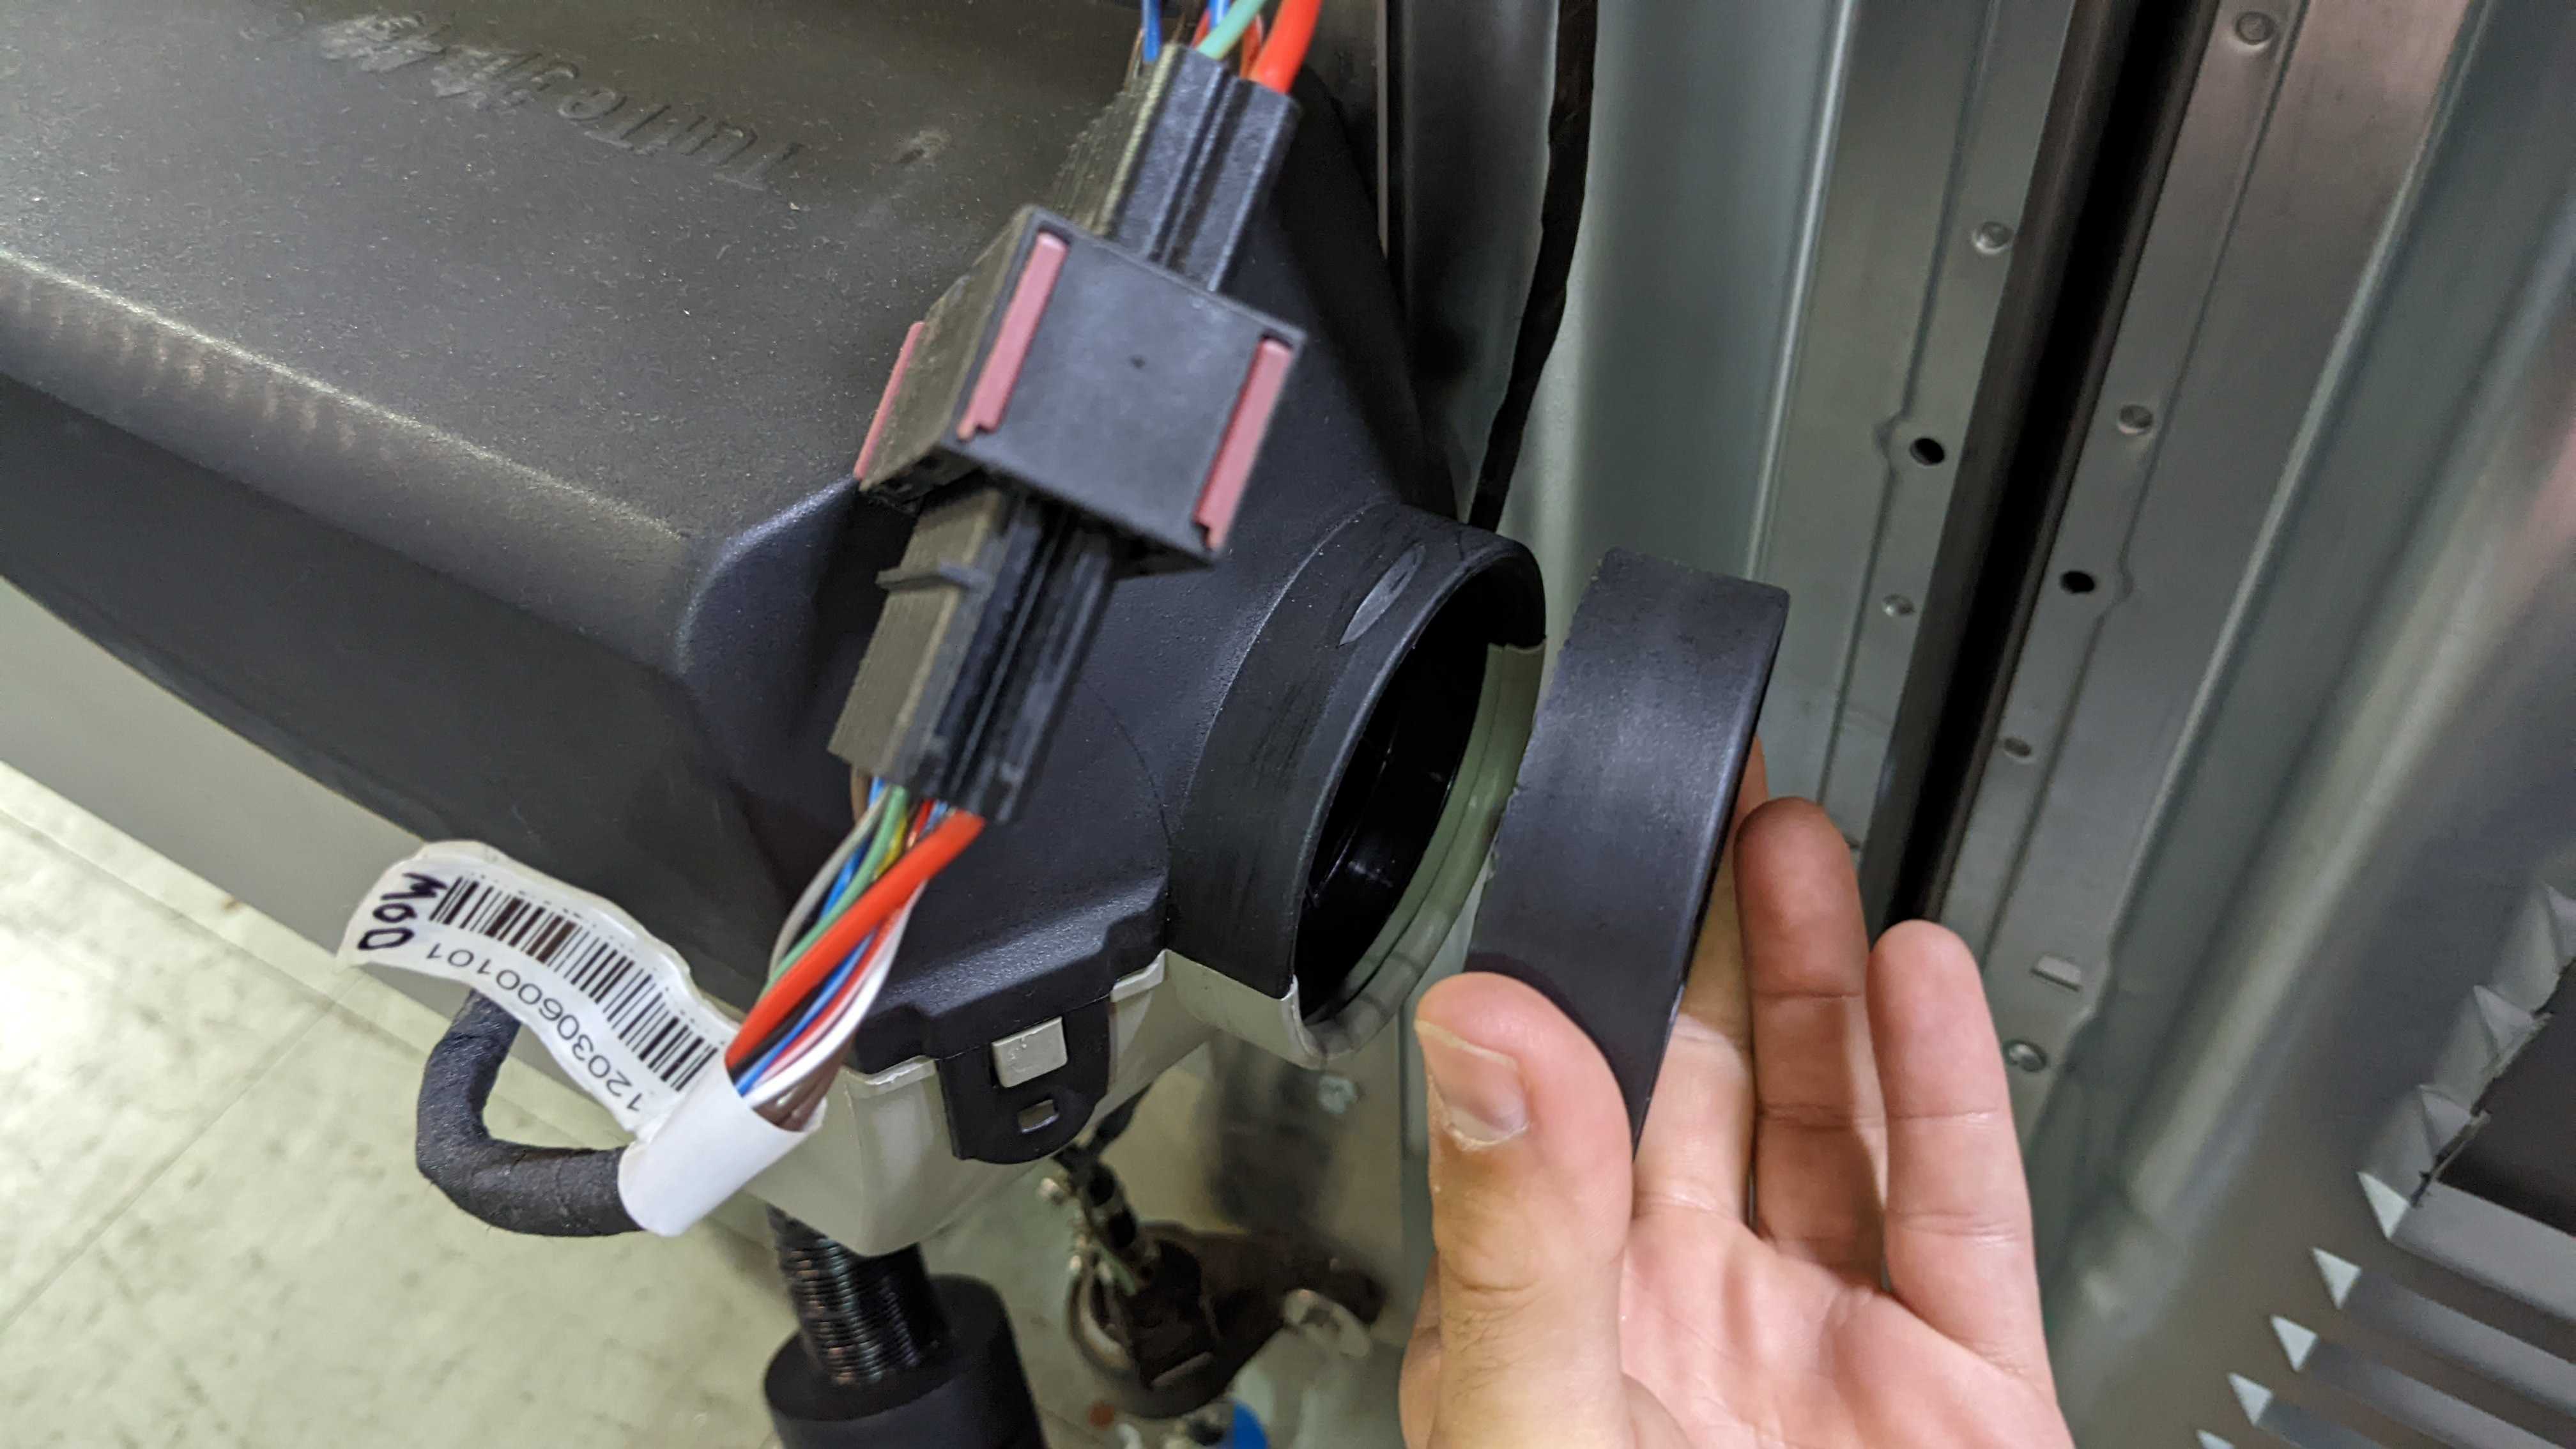
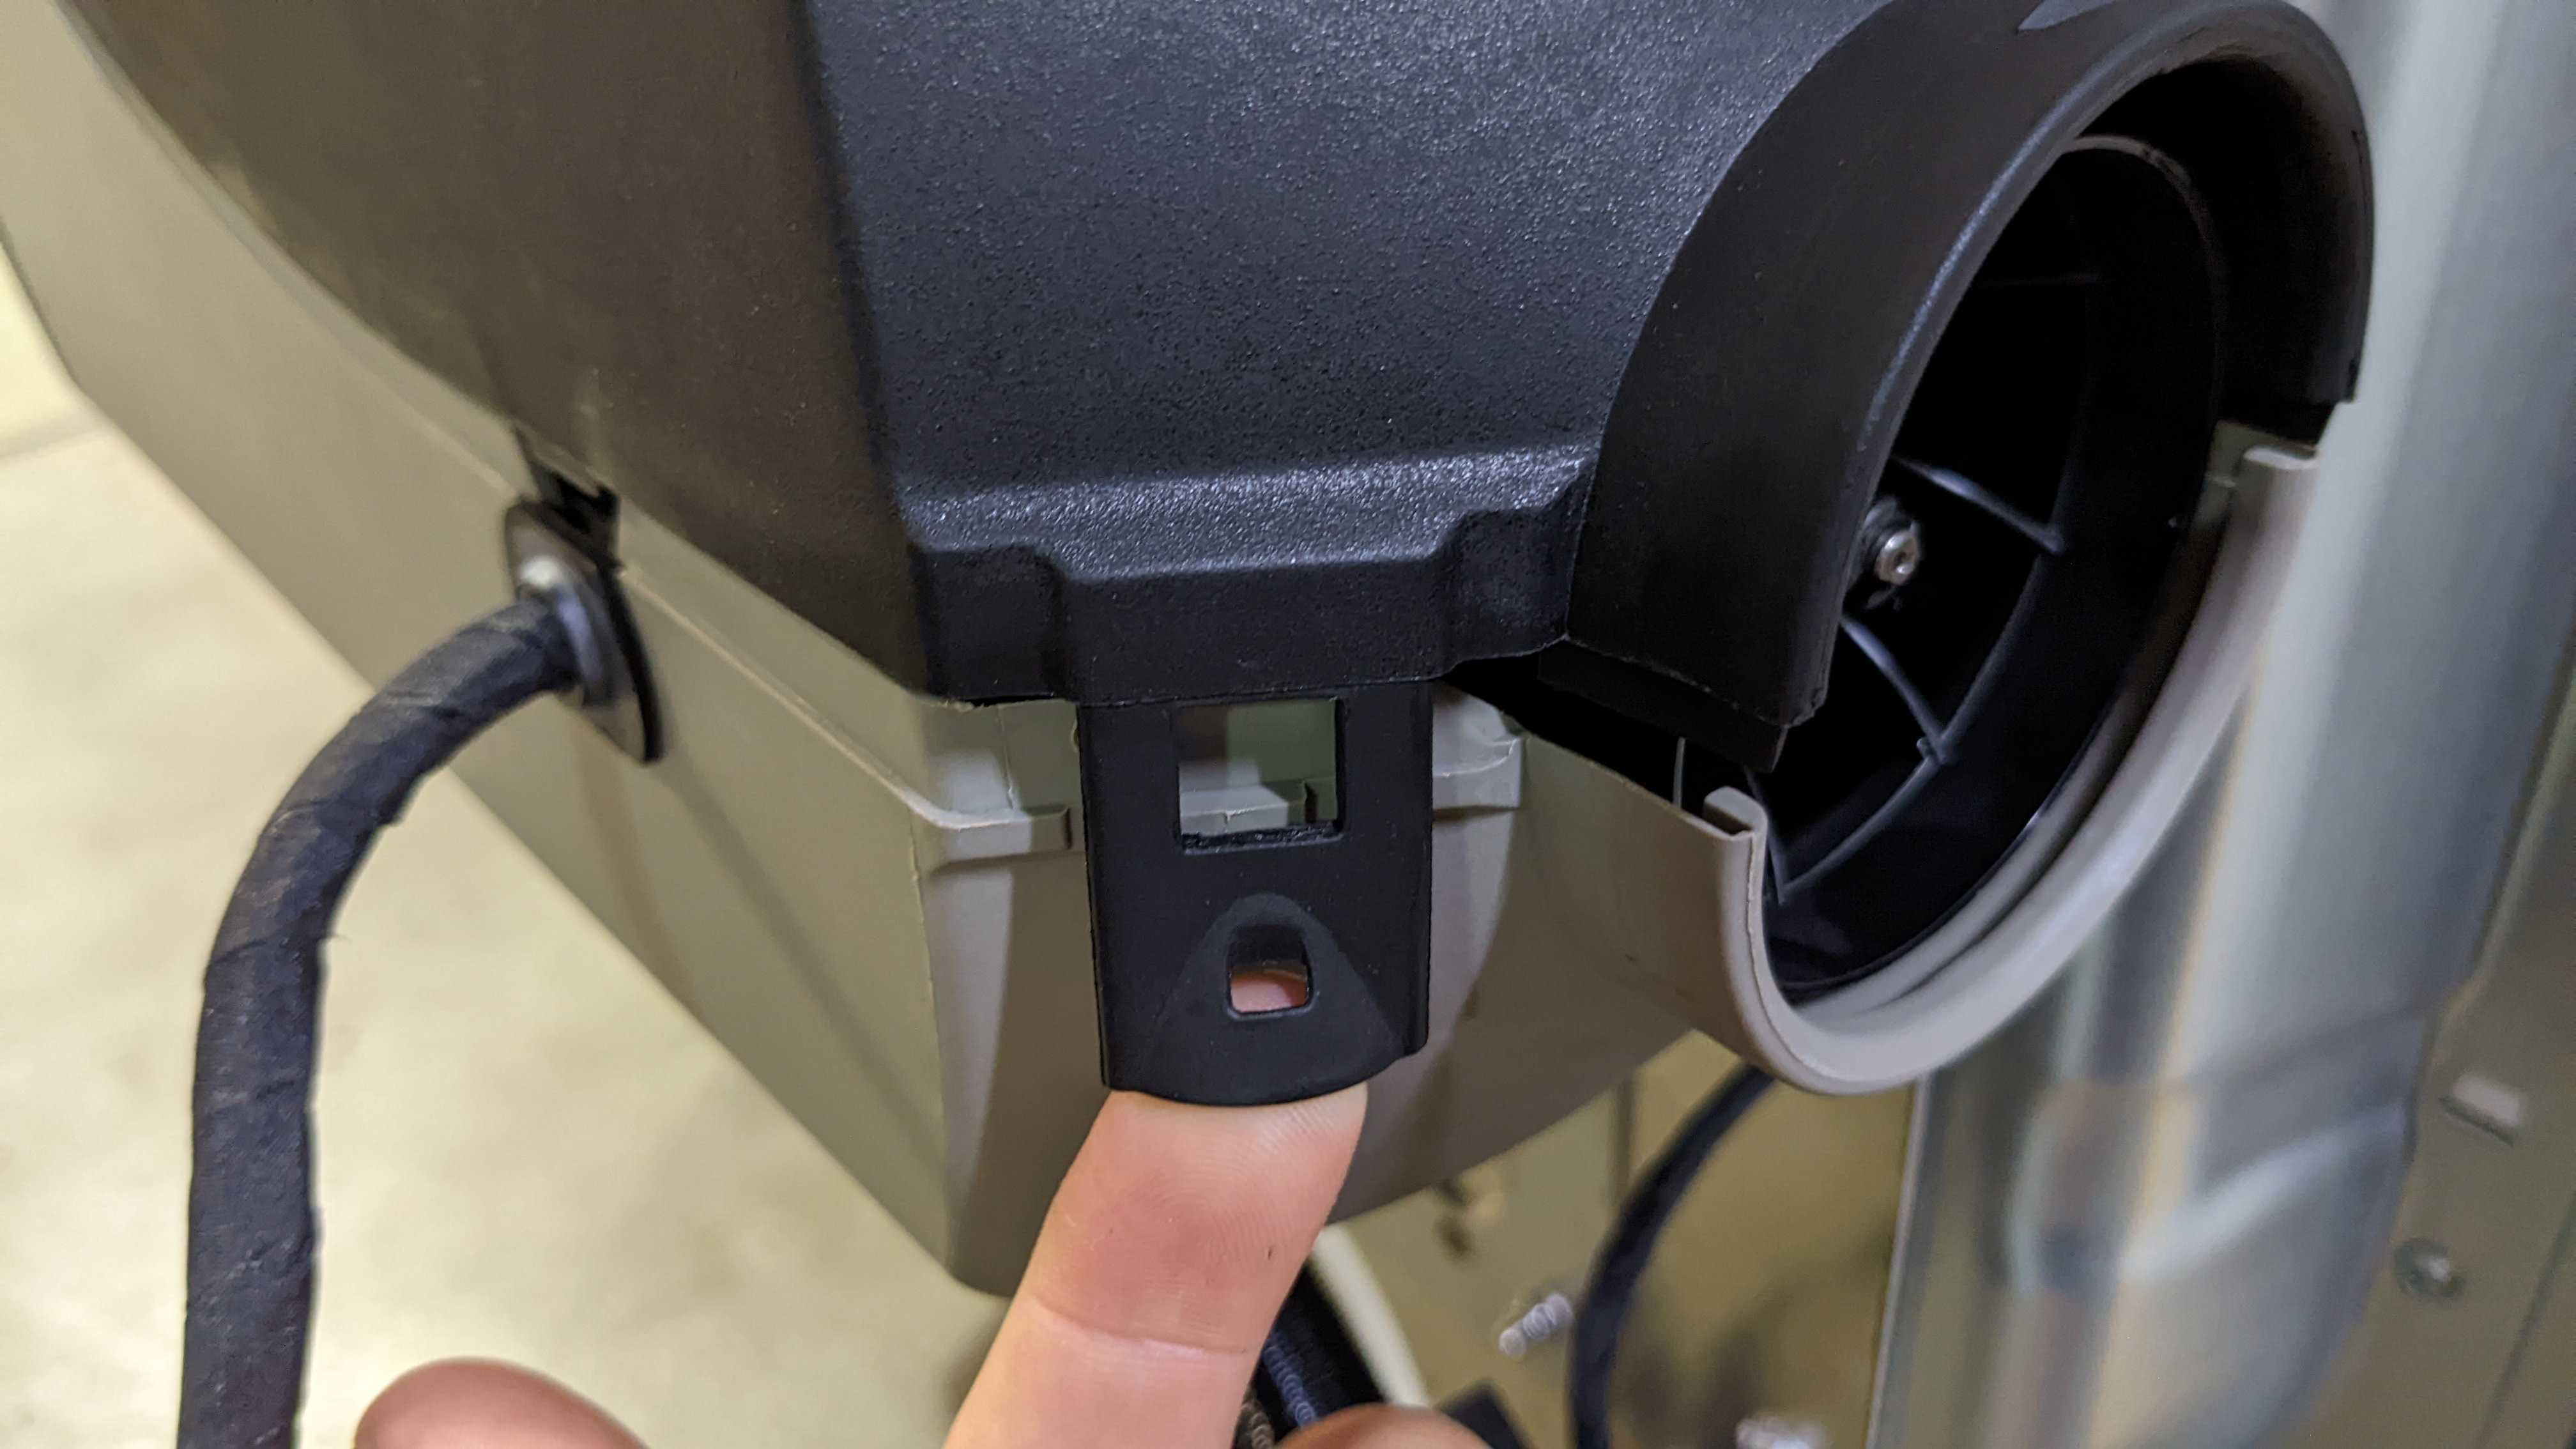
2. Remove the inlet cap or inlet elbow (see pictures below):
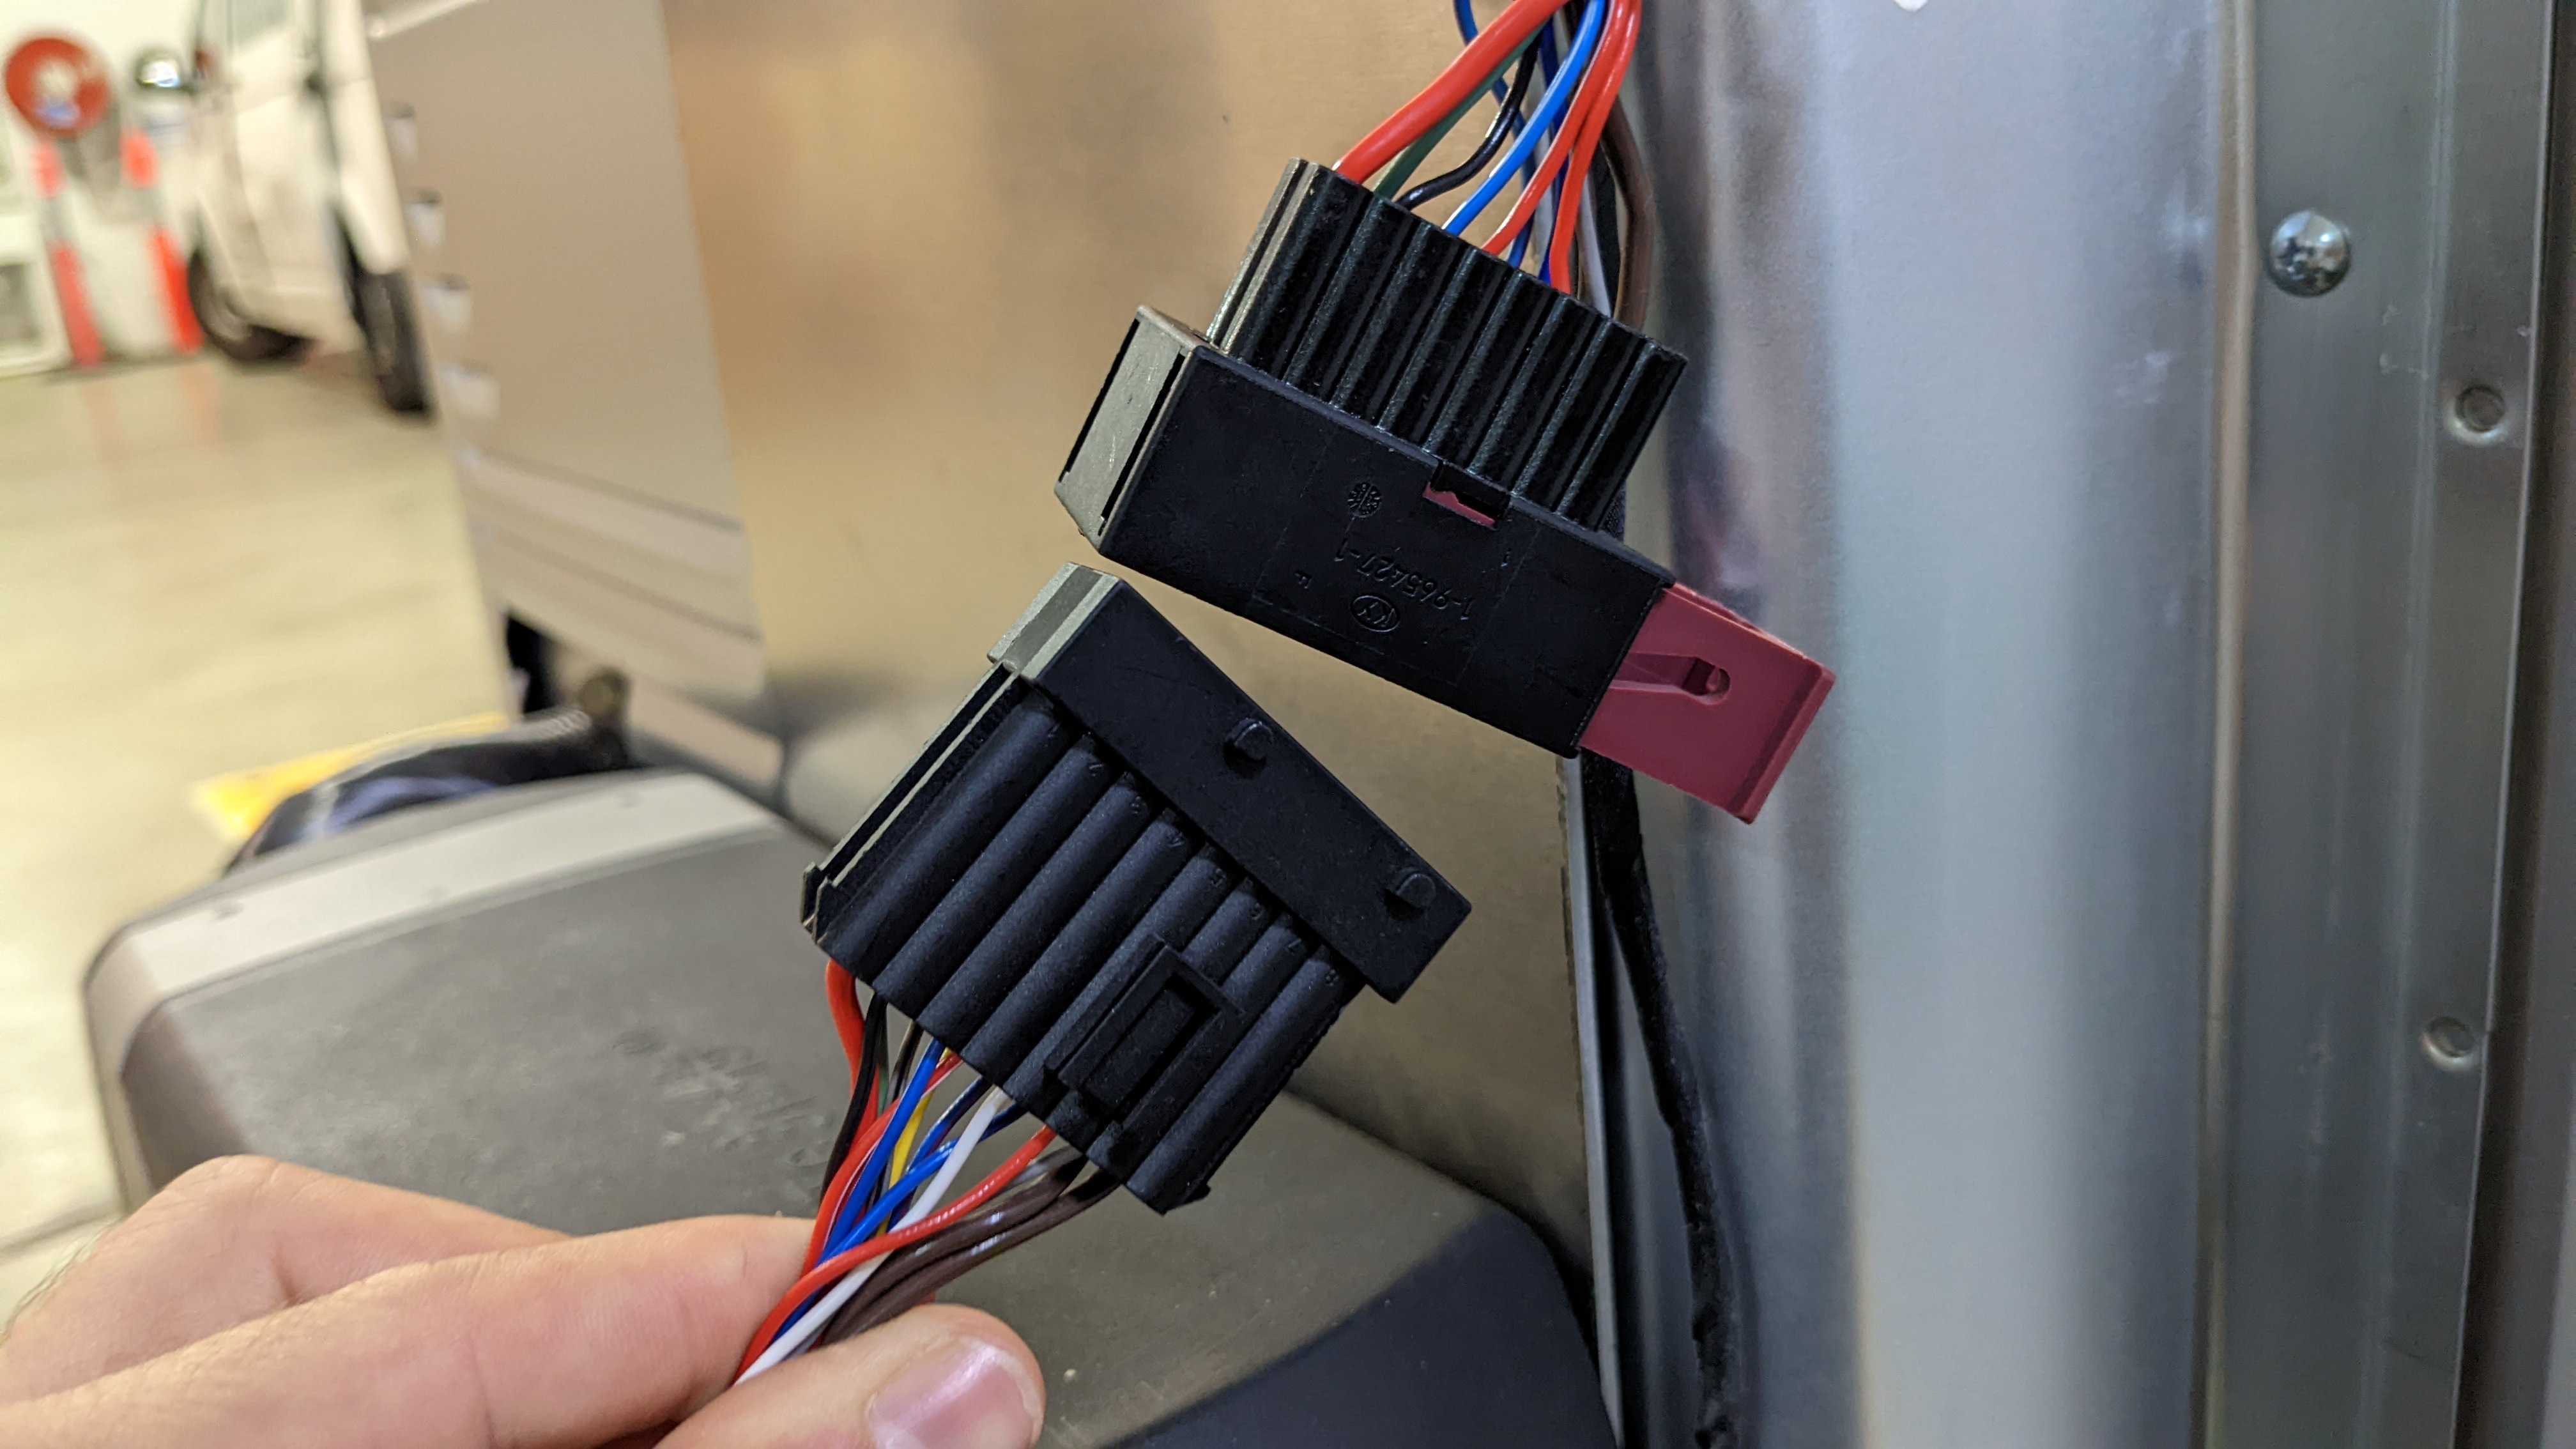
3. Unplug the CPU from the main dryer cable.
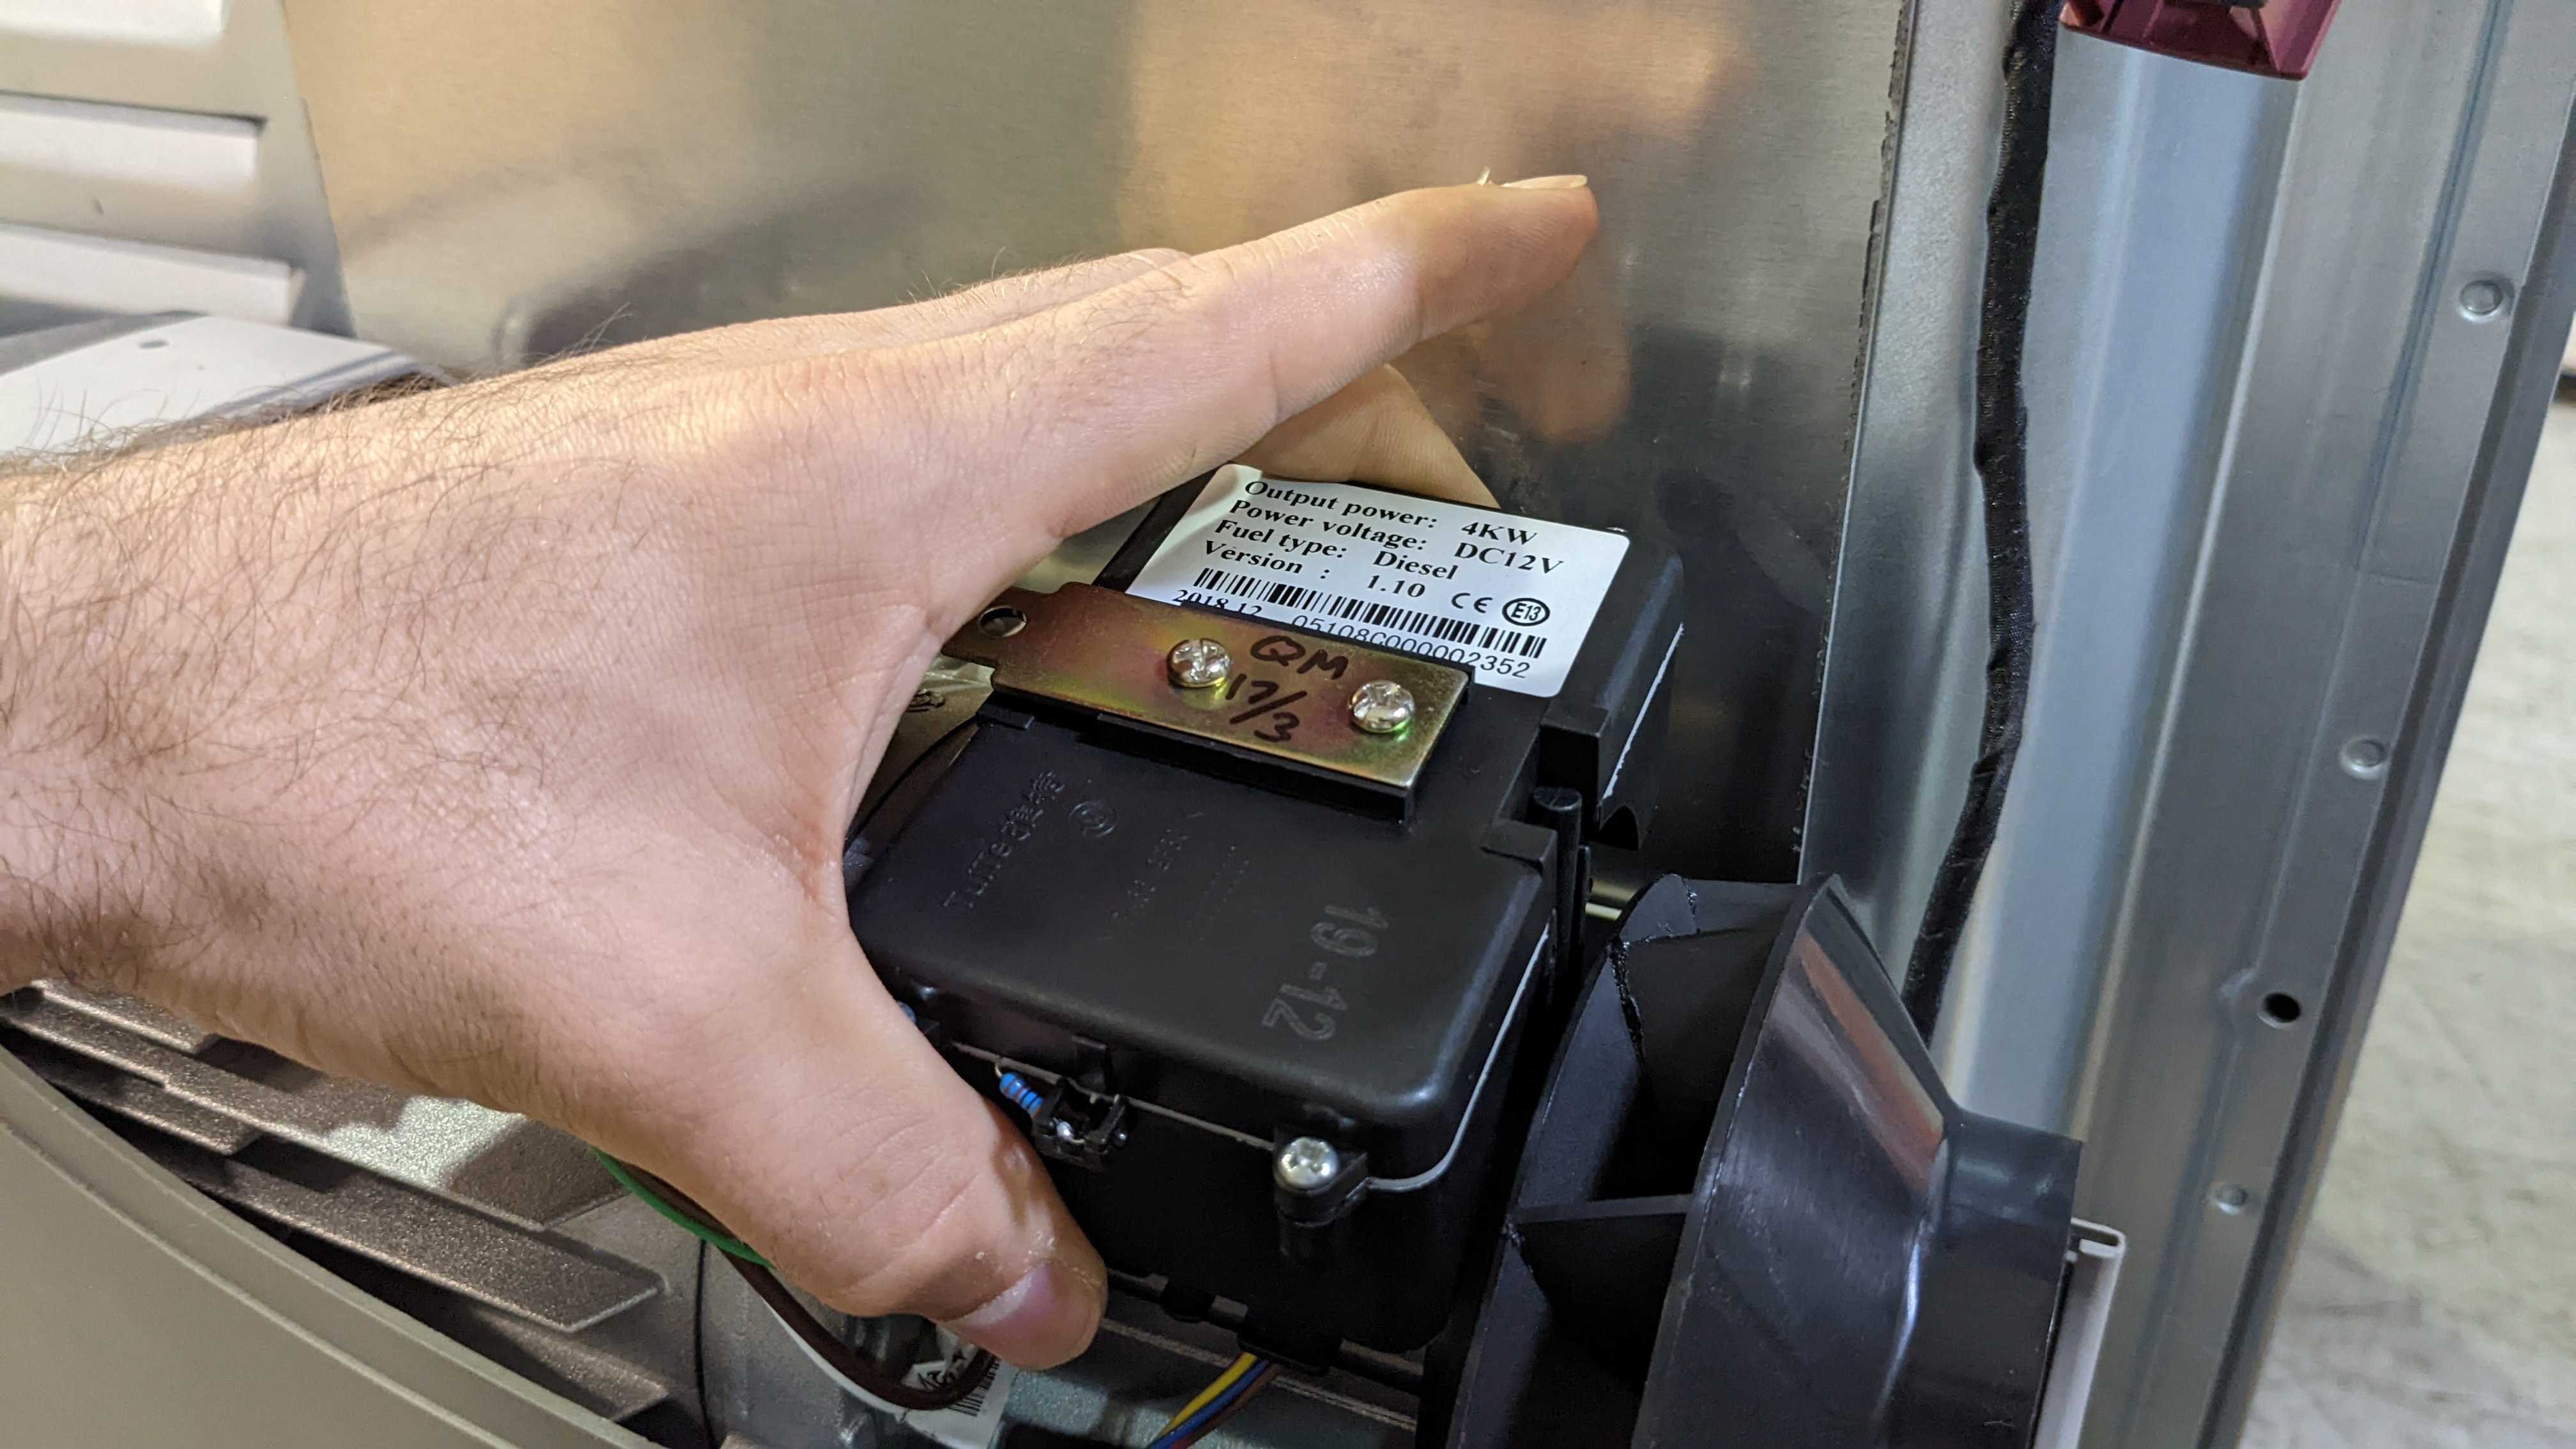
4. Remove the top plastic cover. Beware of any hot components!
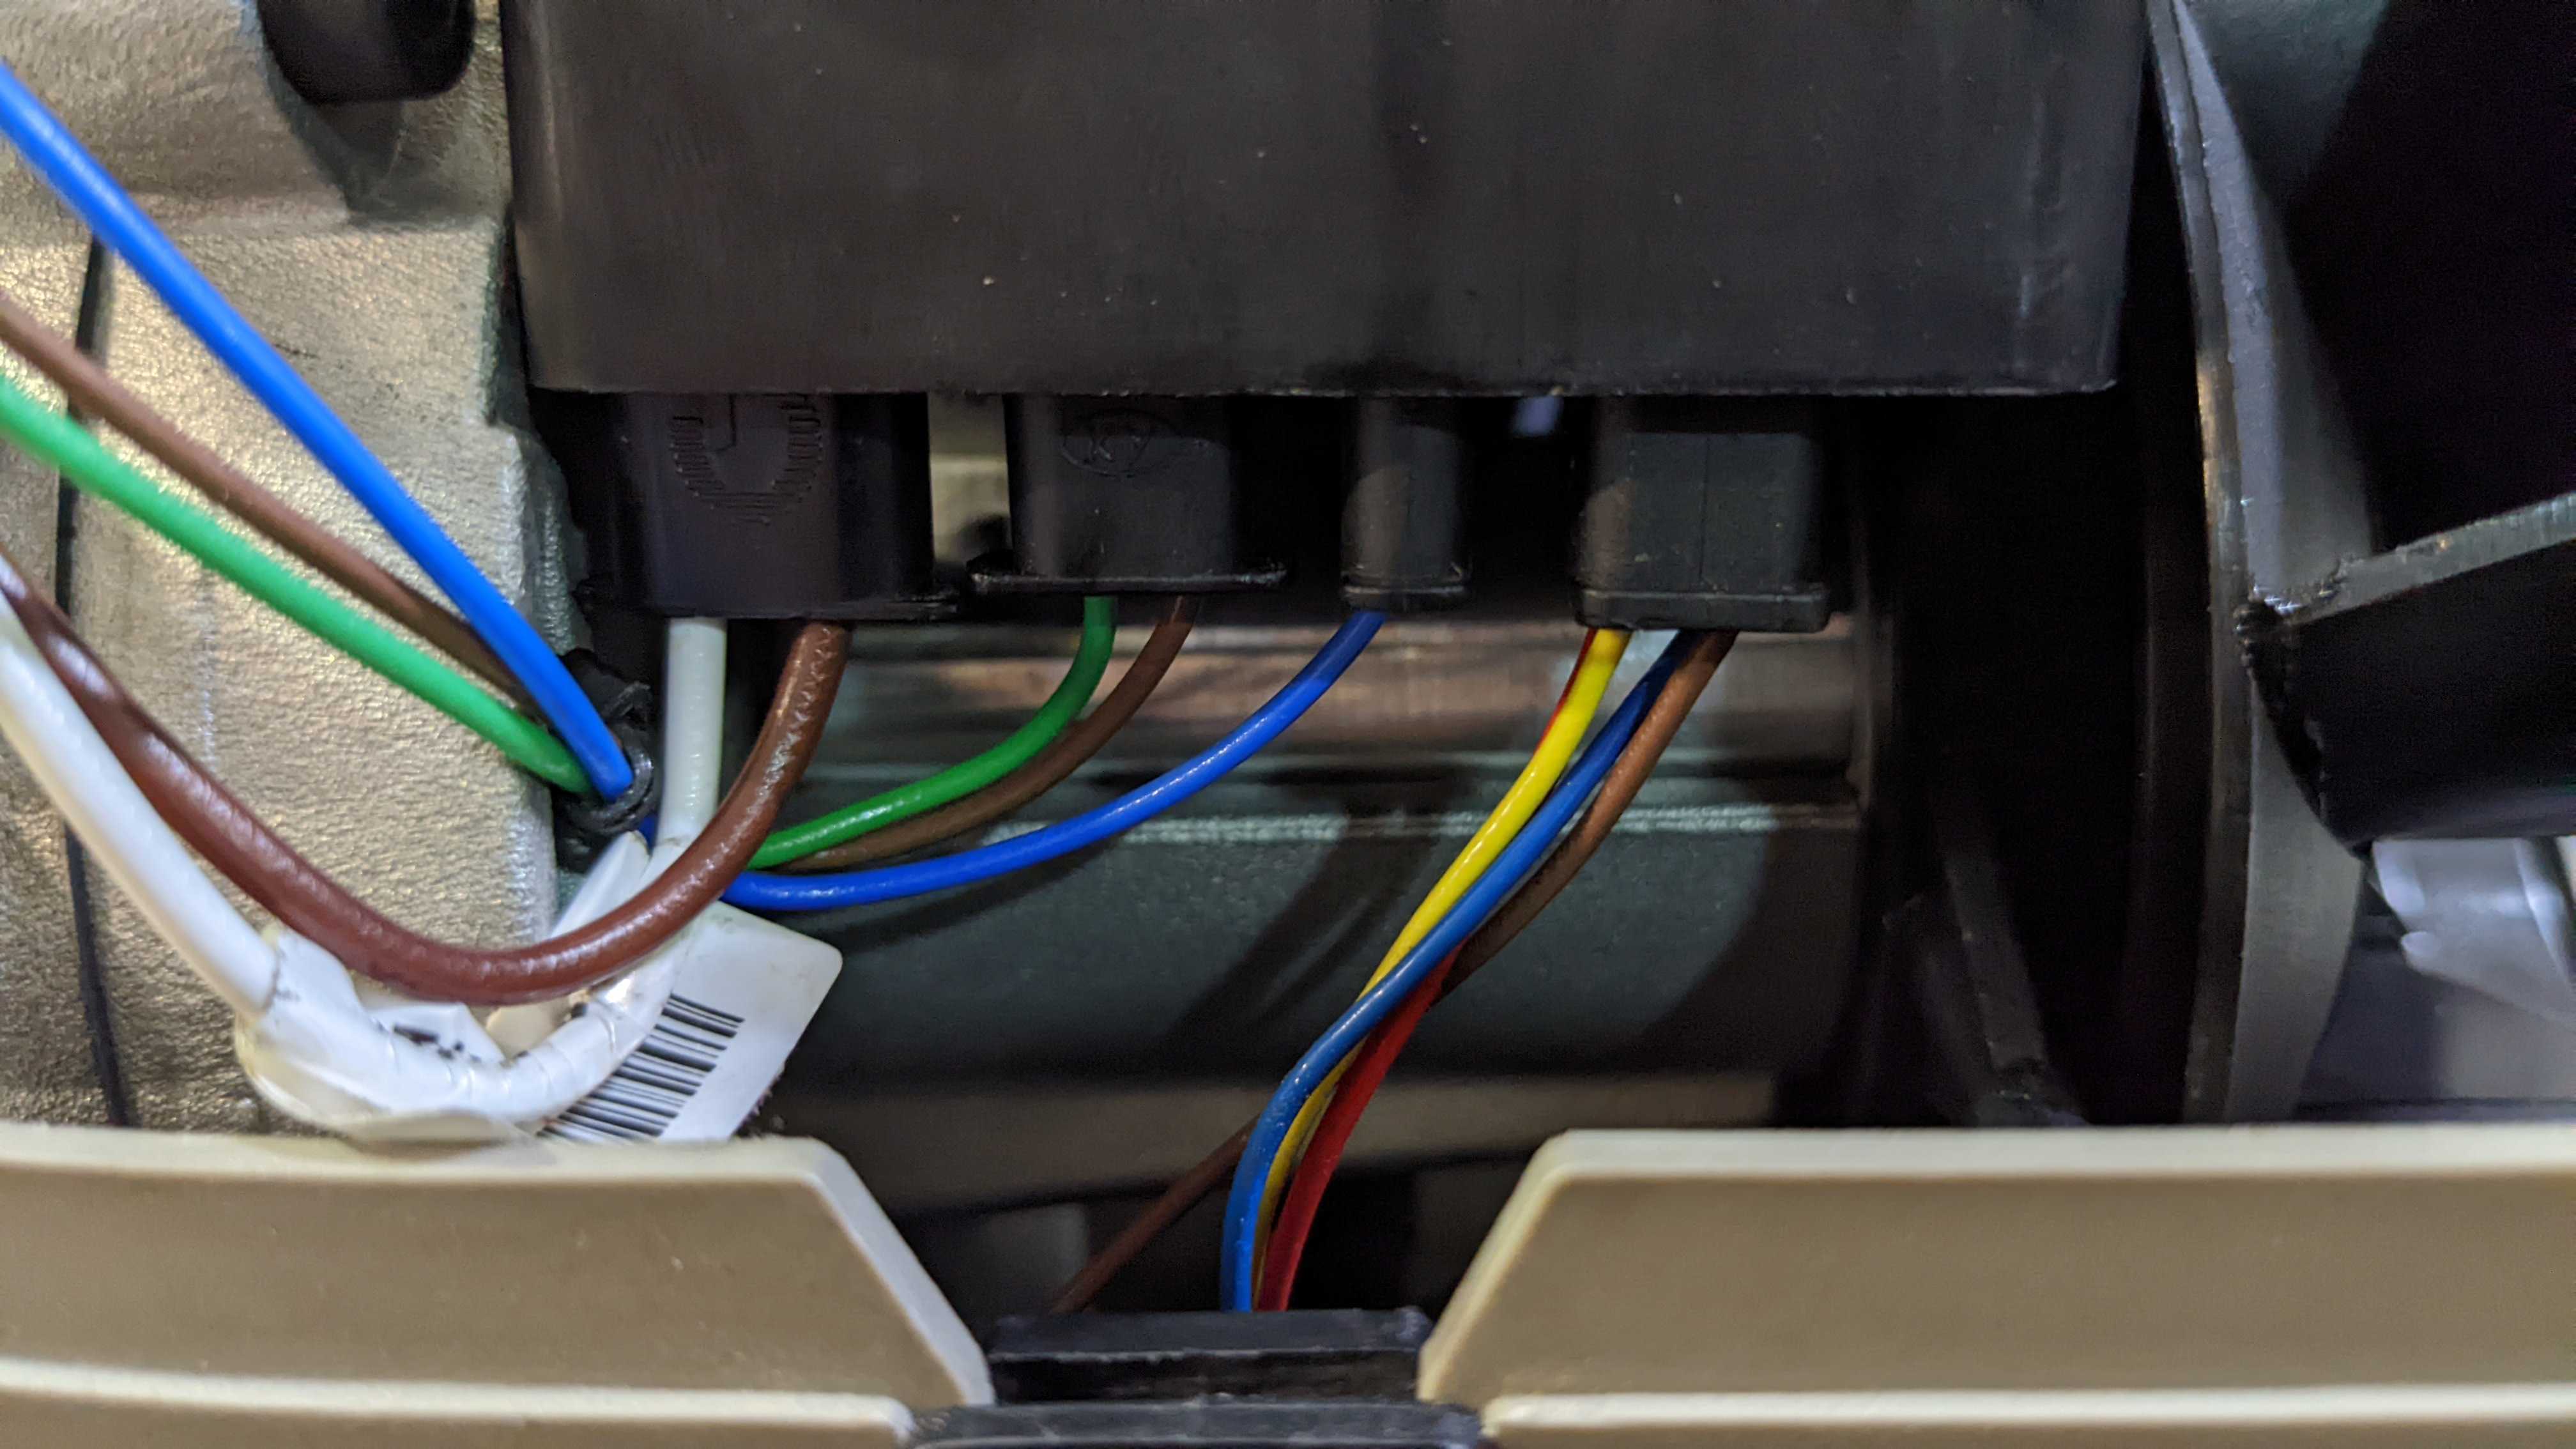
5. Disconnect the CPU from the heater by removing 1 Phillips head screw.
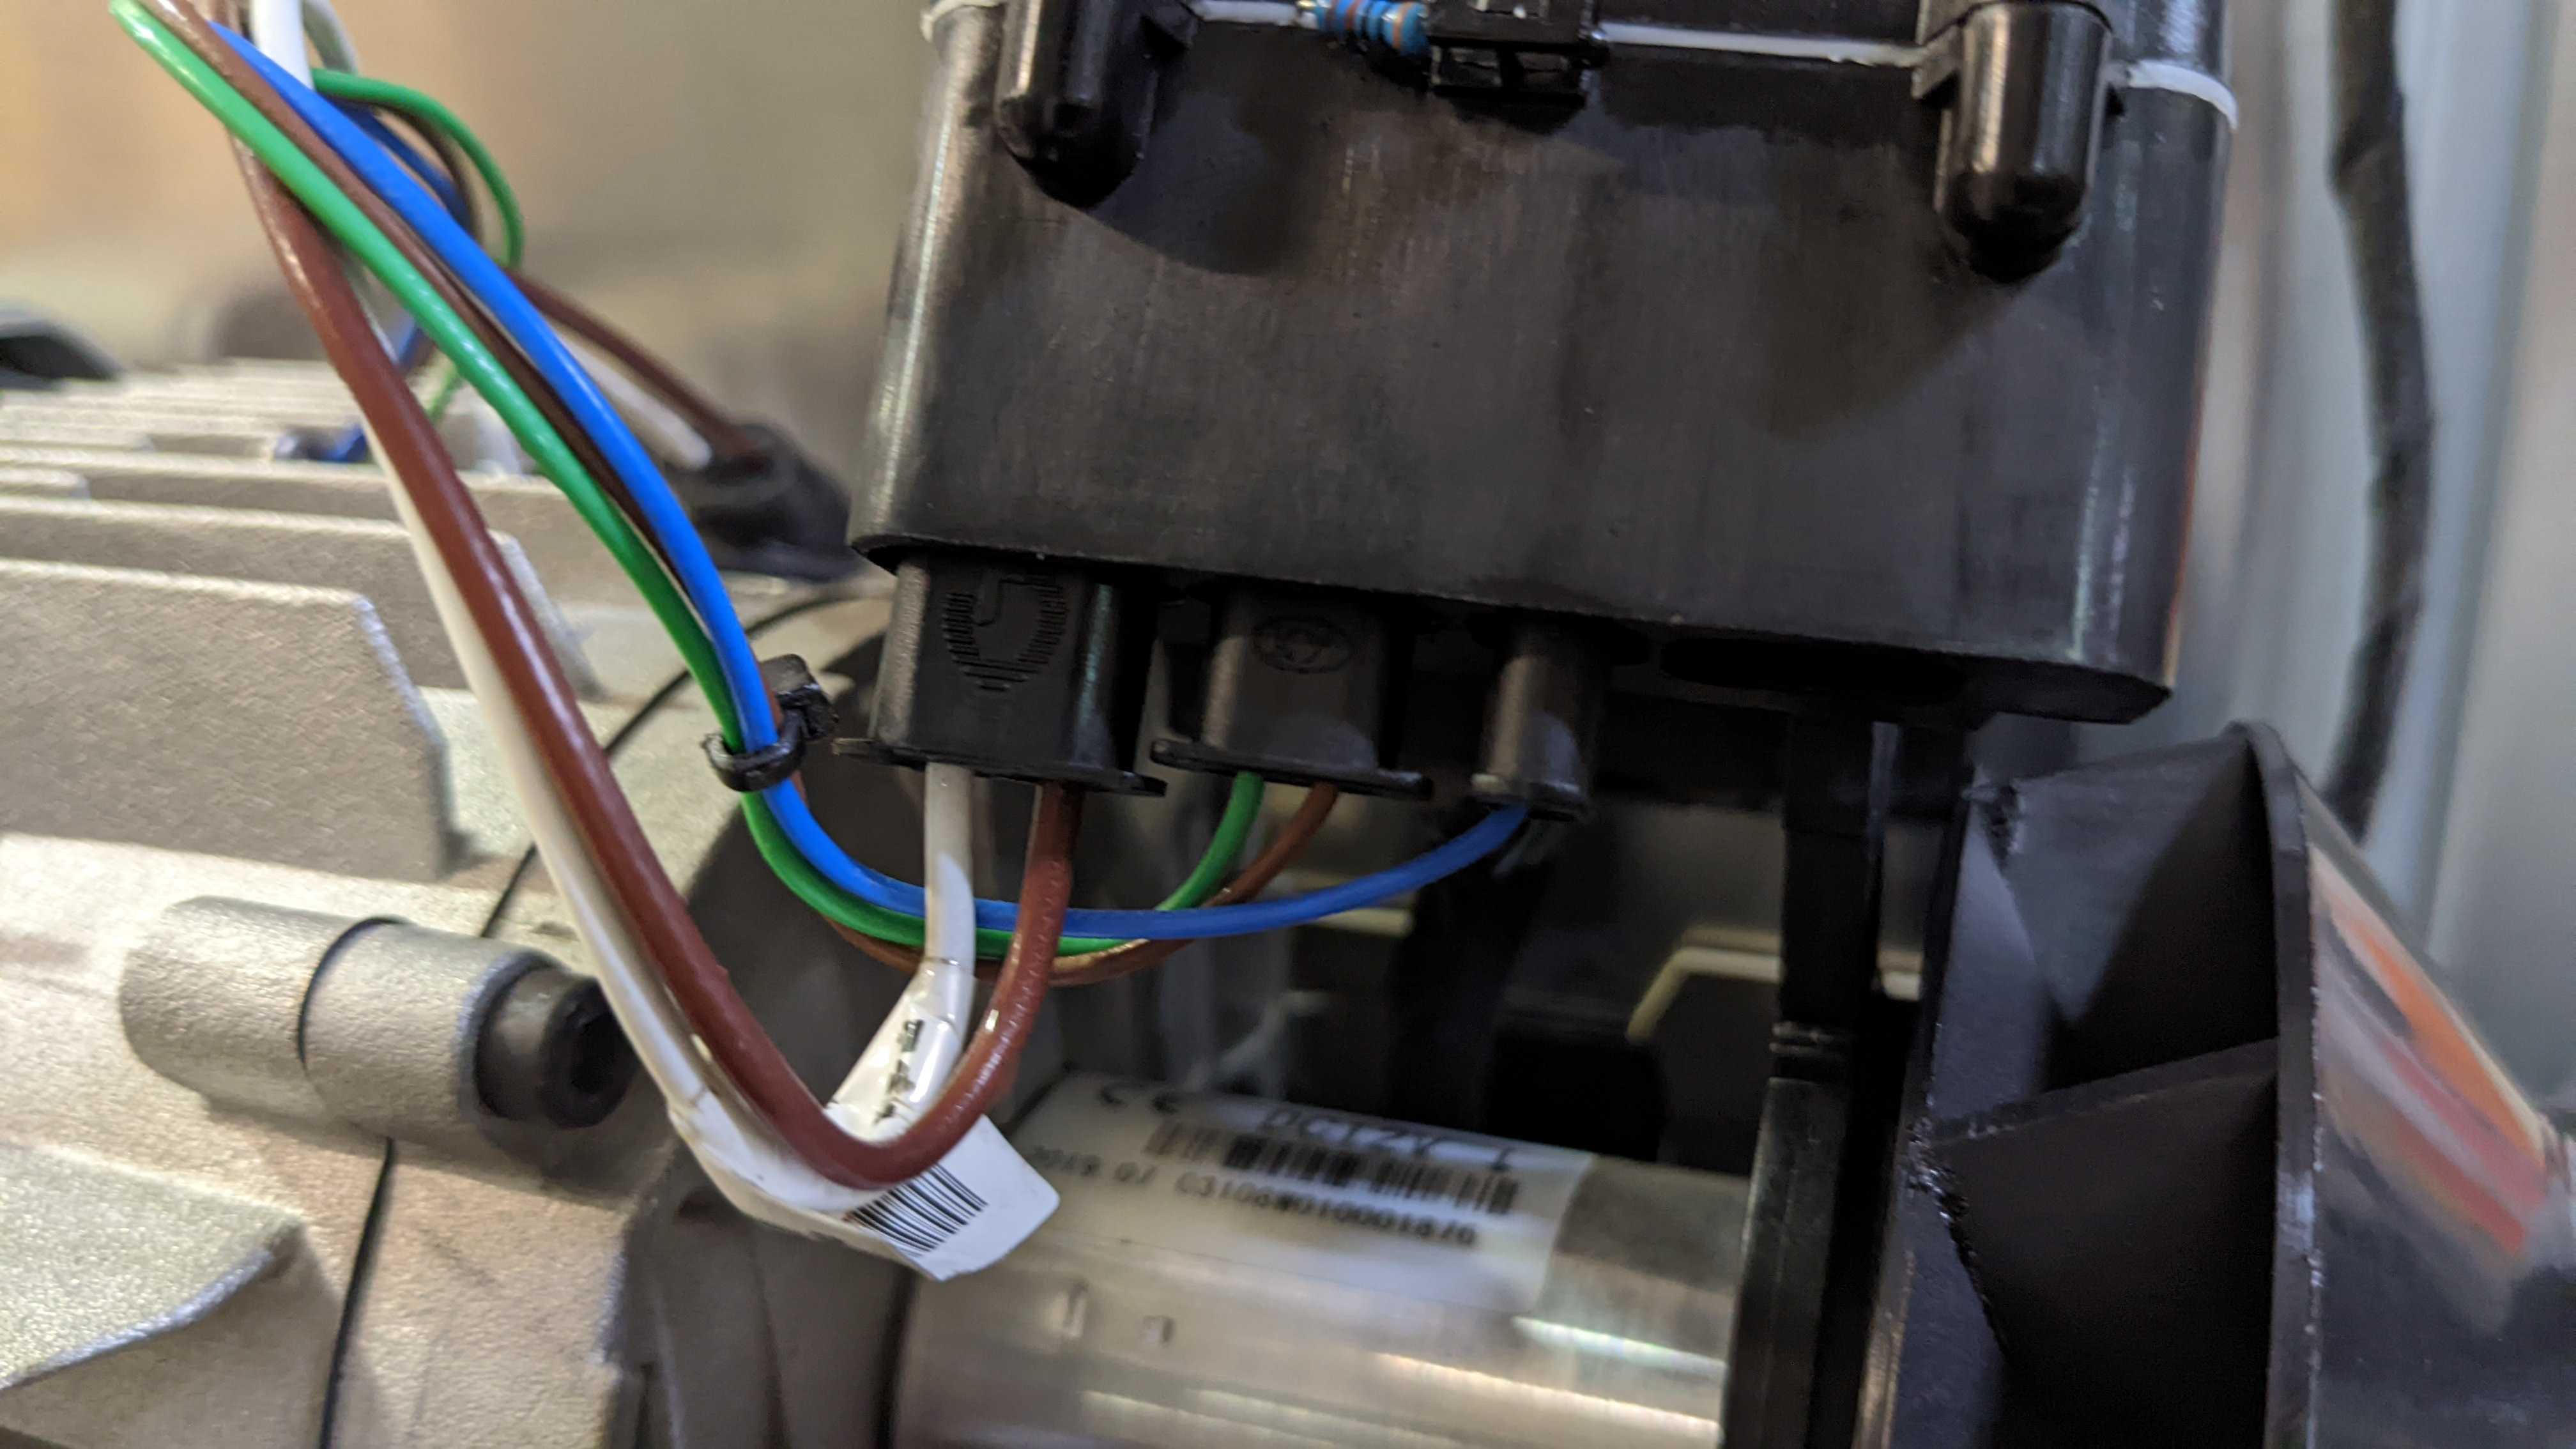
Note, there are four connectors that need to be installed in the correct order as per below photos
.jpg)
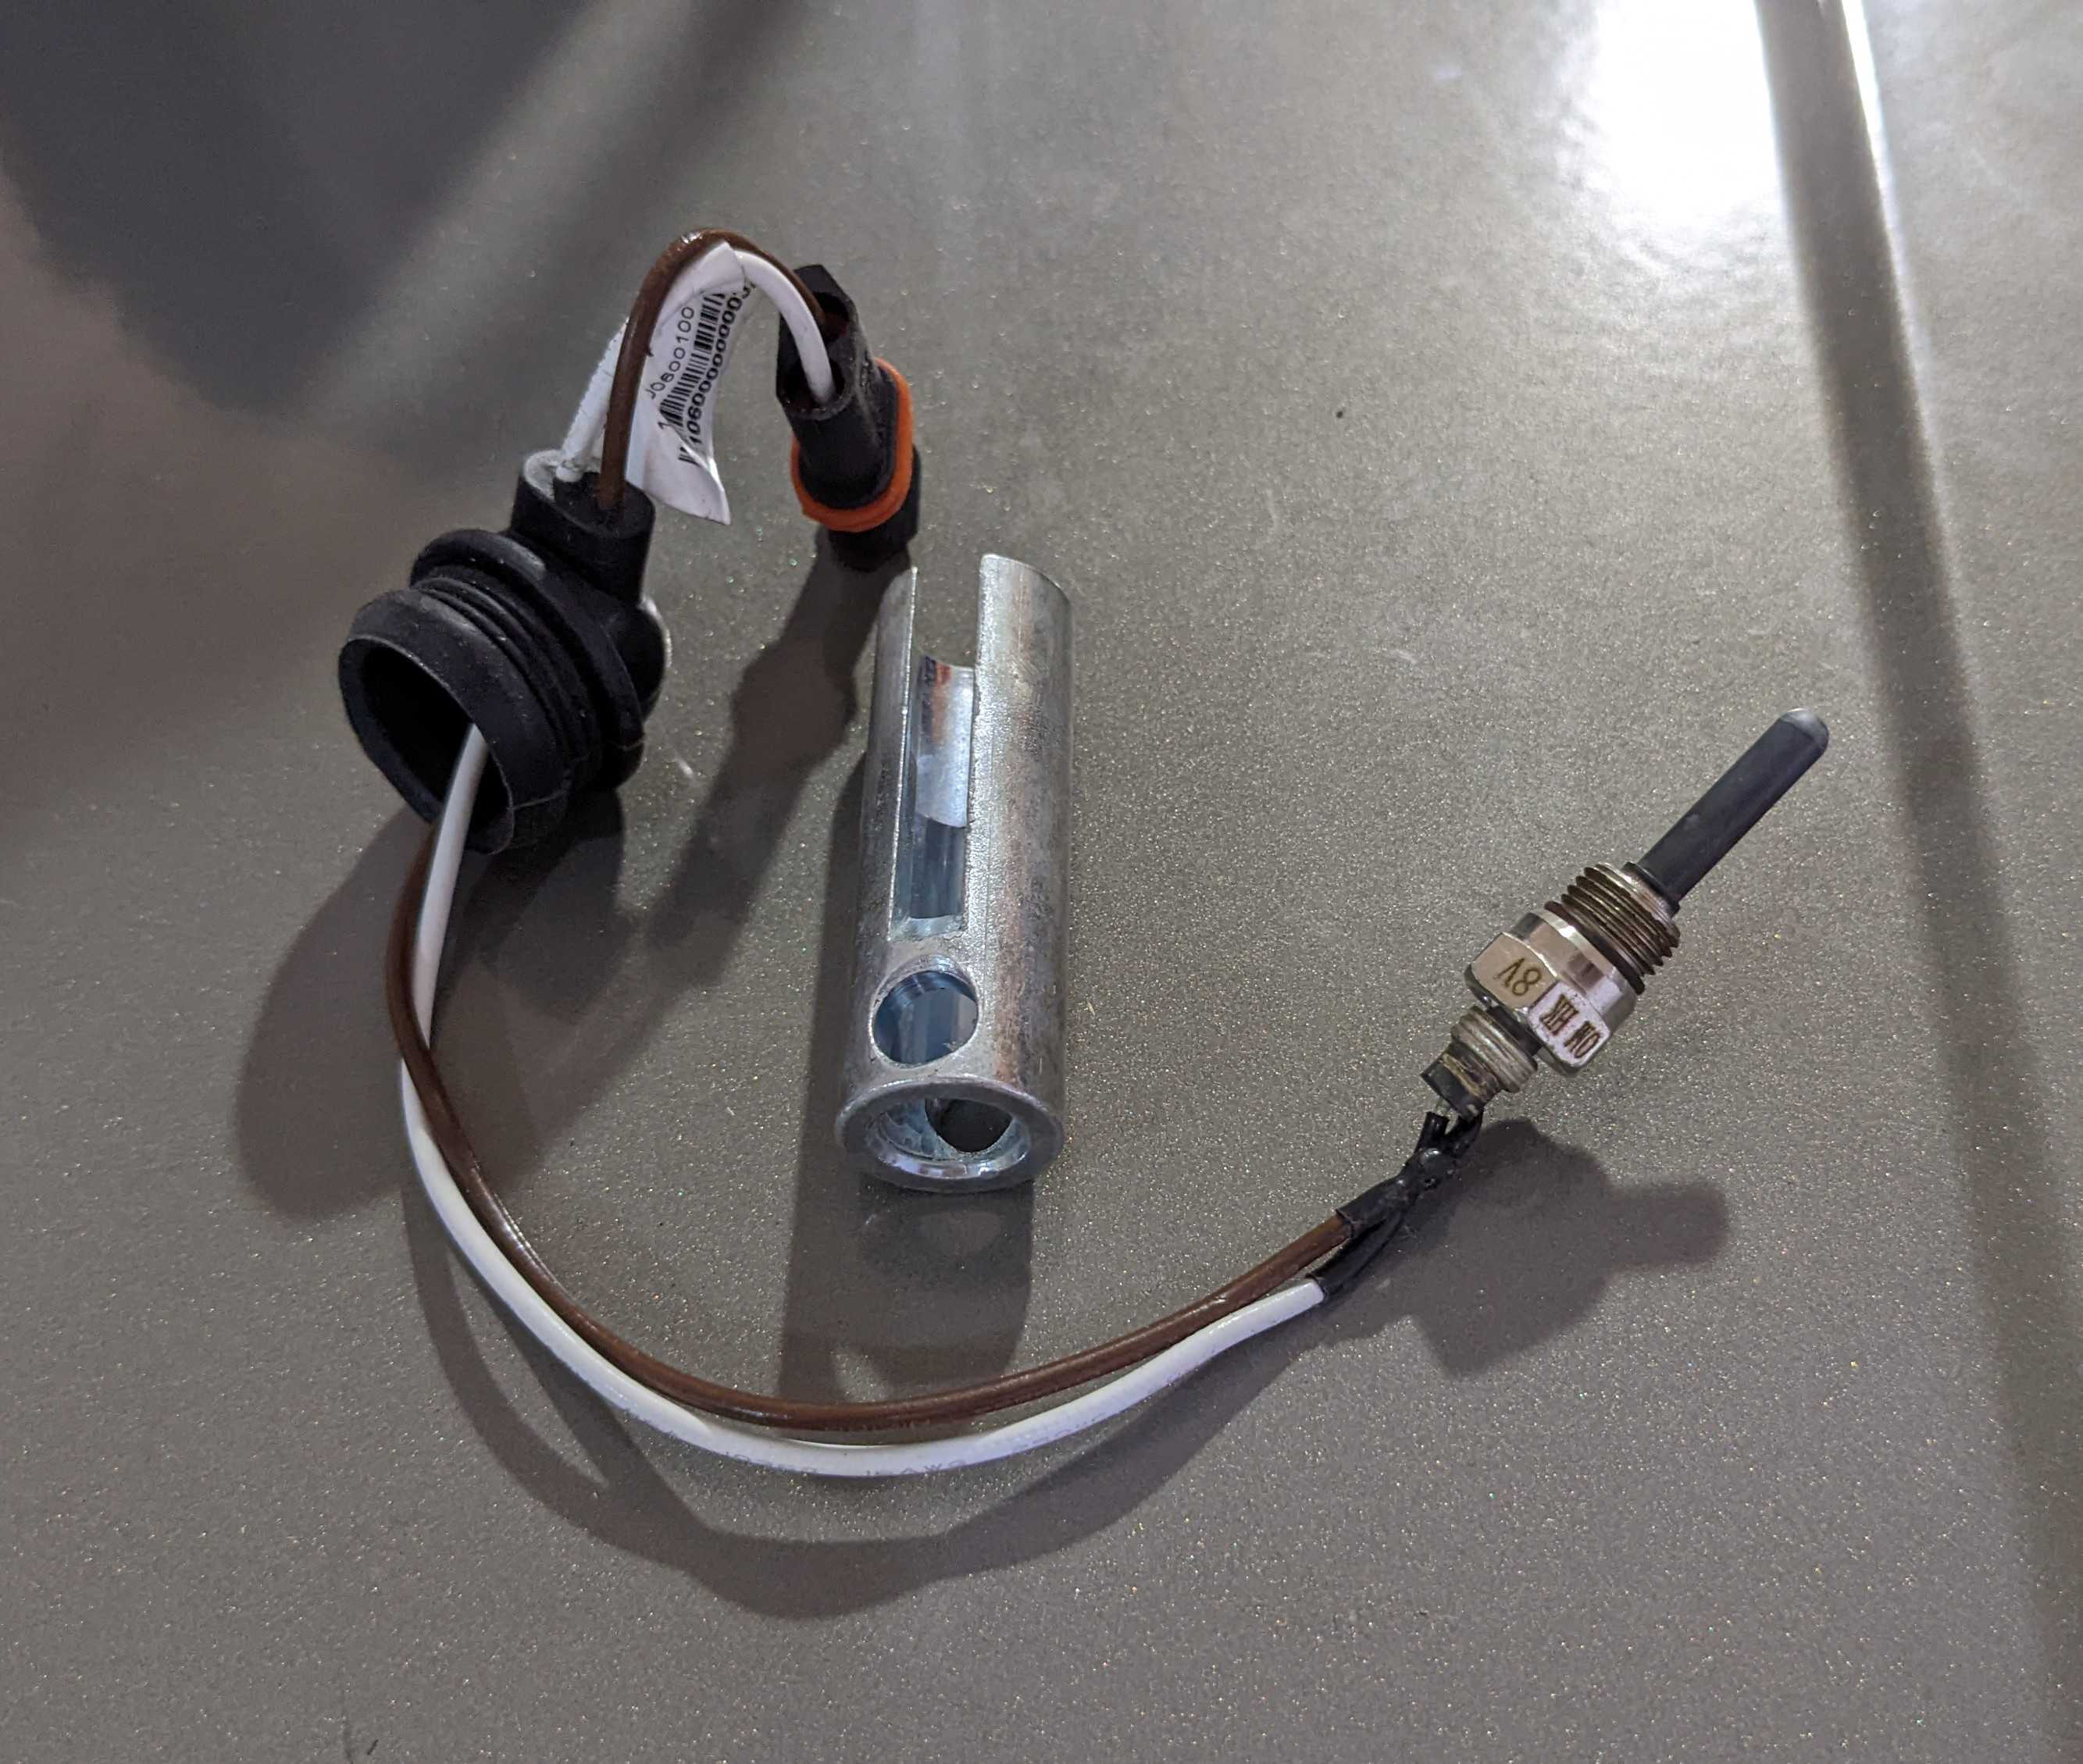
6. Remove the plug with the WHITE and BROWN cable.
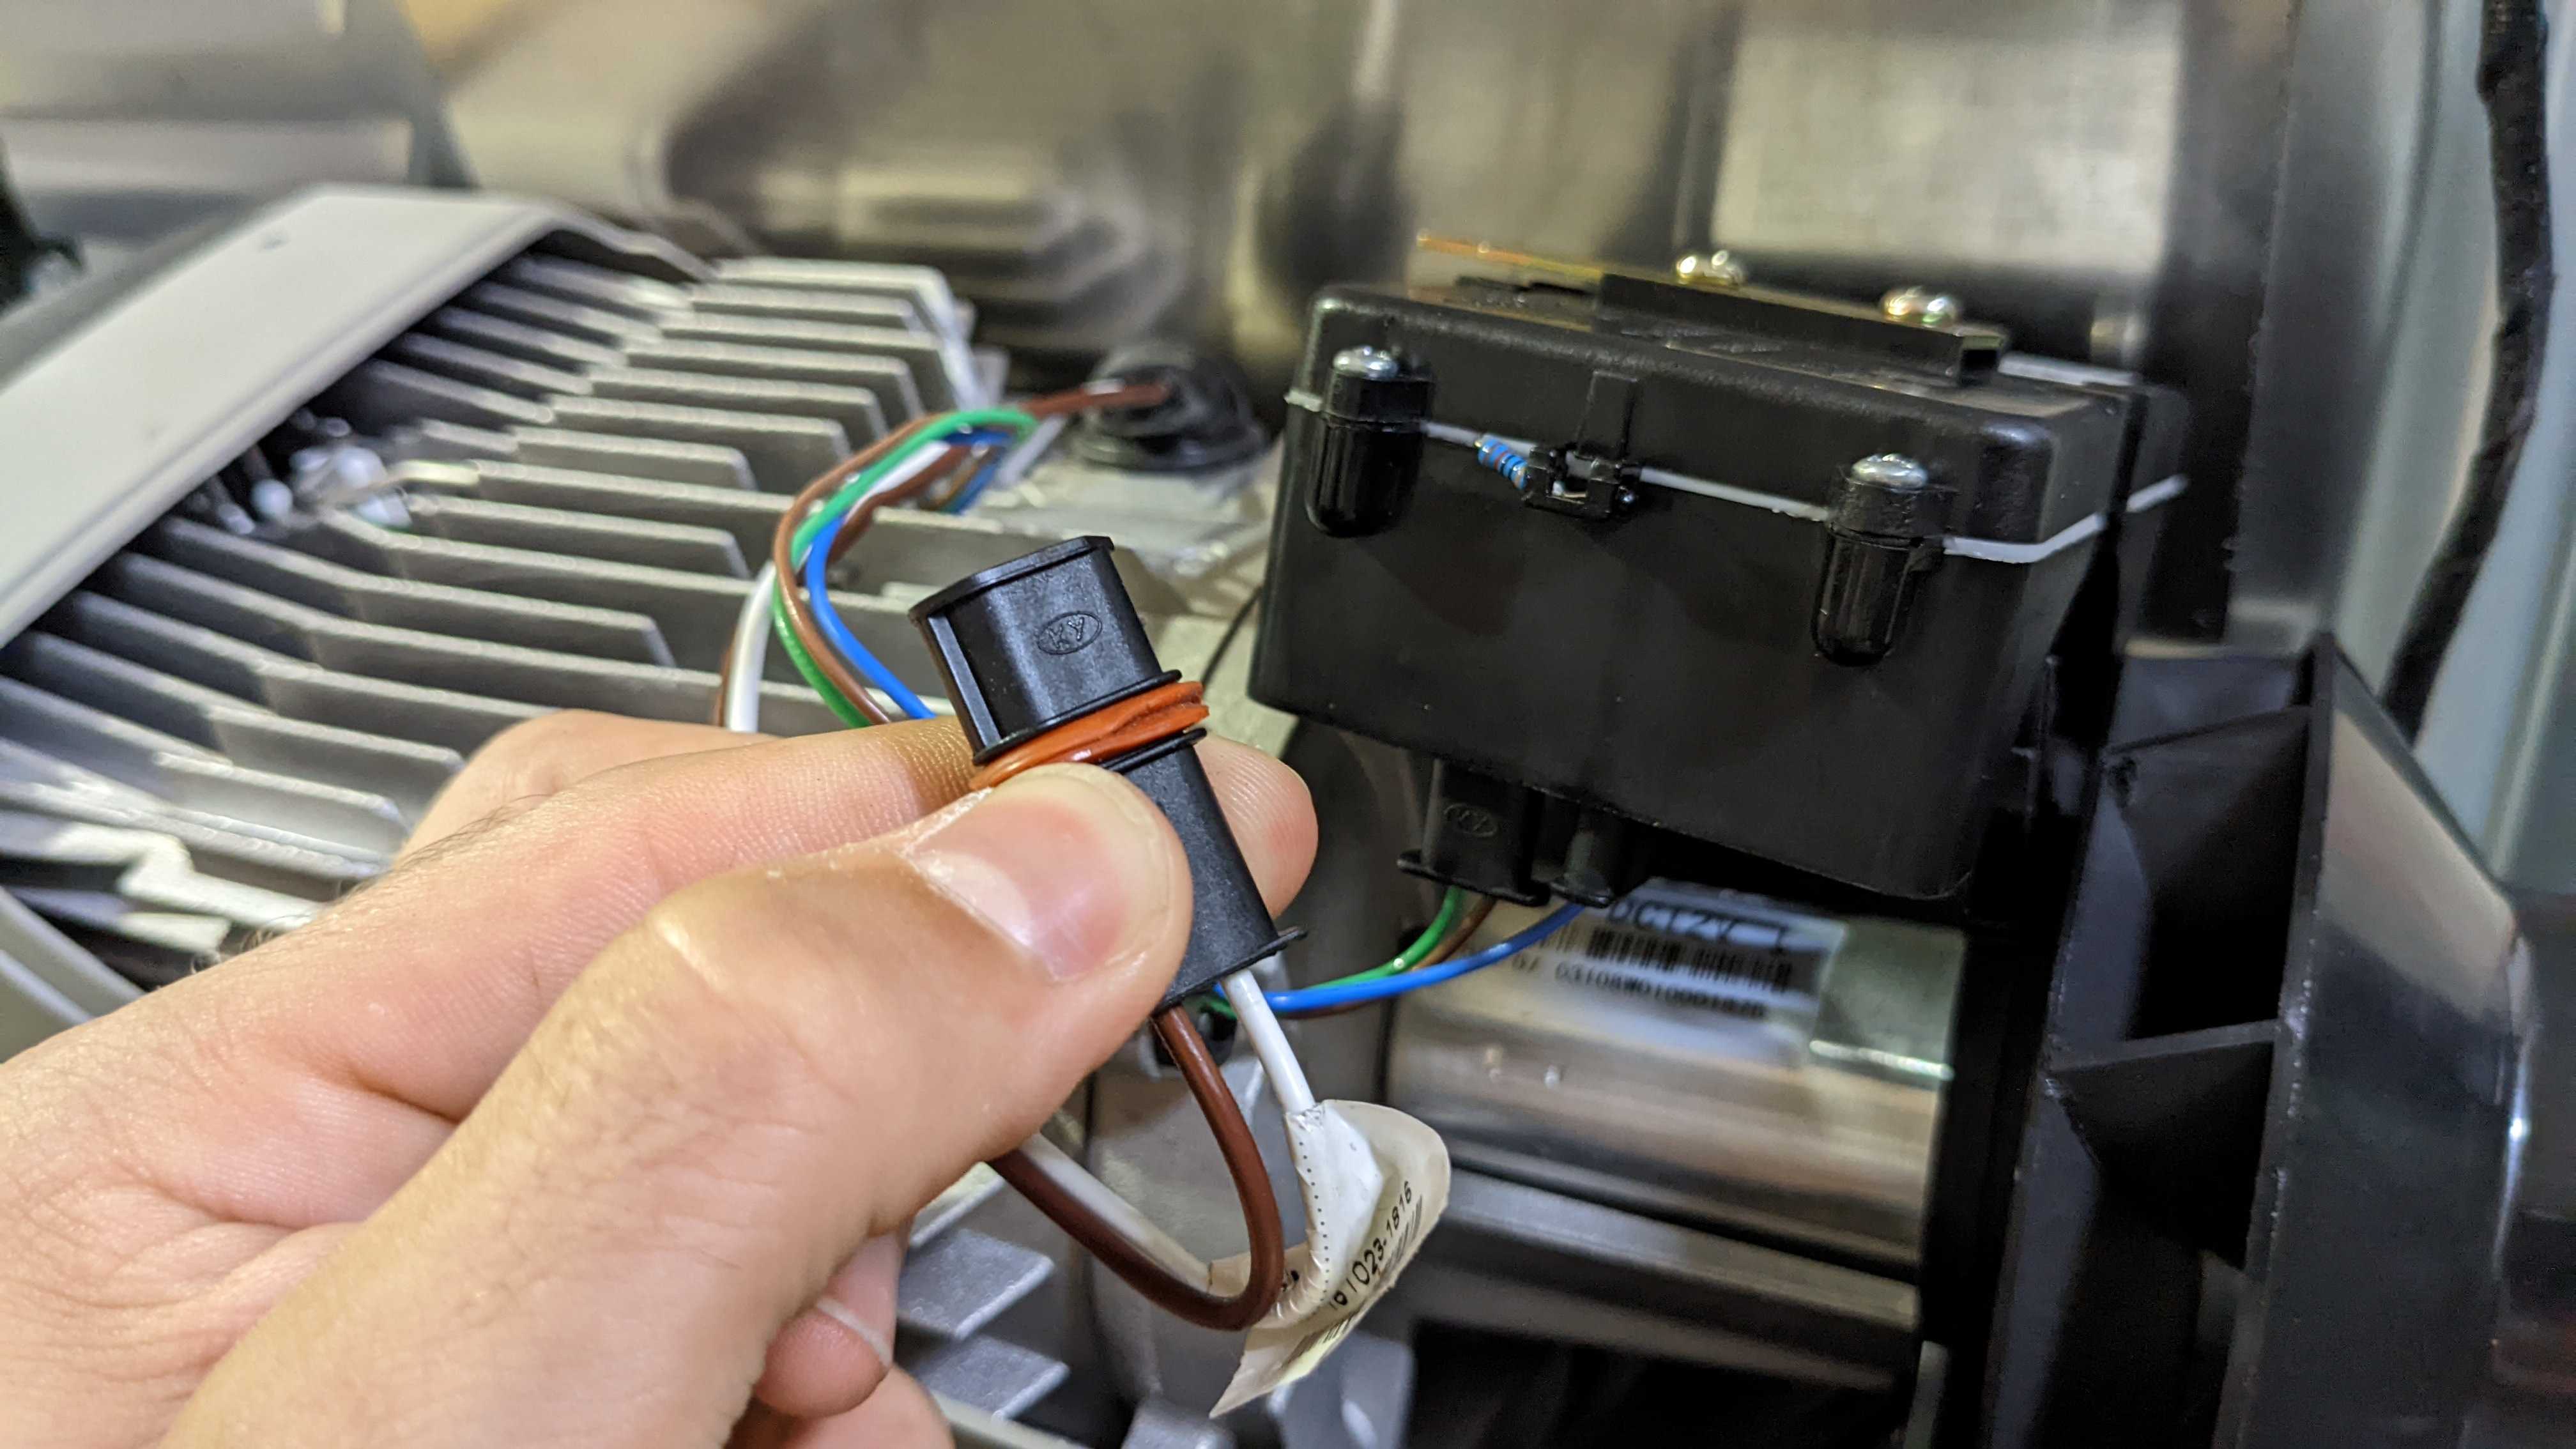
7. Remove the rubber cap from the top of the glow plug.
.jpg)
8. Insert the glow plug removal tool and screw driver to loose the thread.
.jpg)
9. Unscrew the glow plug counter-clockwise and then pull it out of the heater.
.jpg)
10. Replace glow plug with a new part. Ensure the glow plug is secured tightly, but not over-tightened.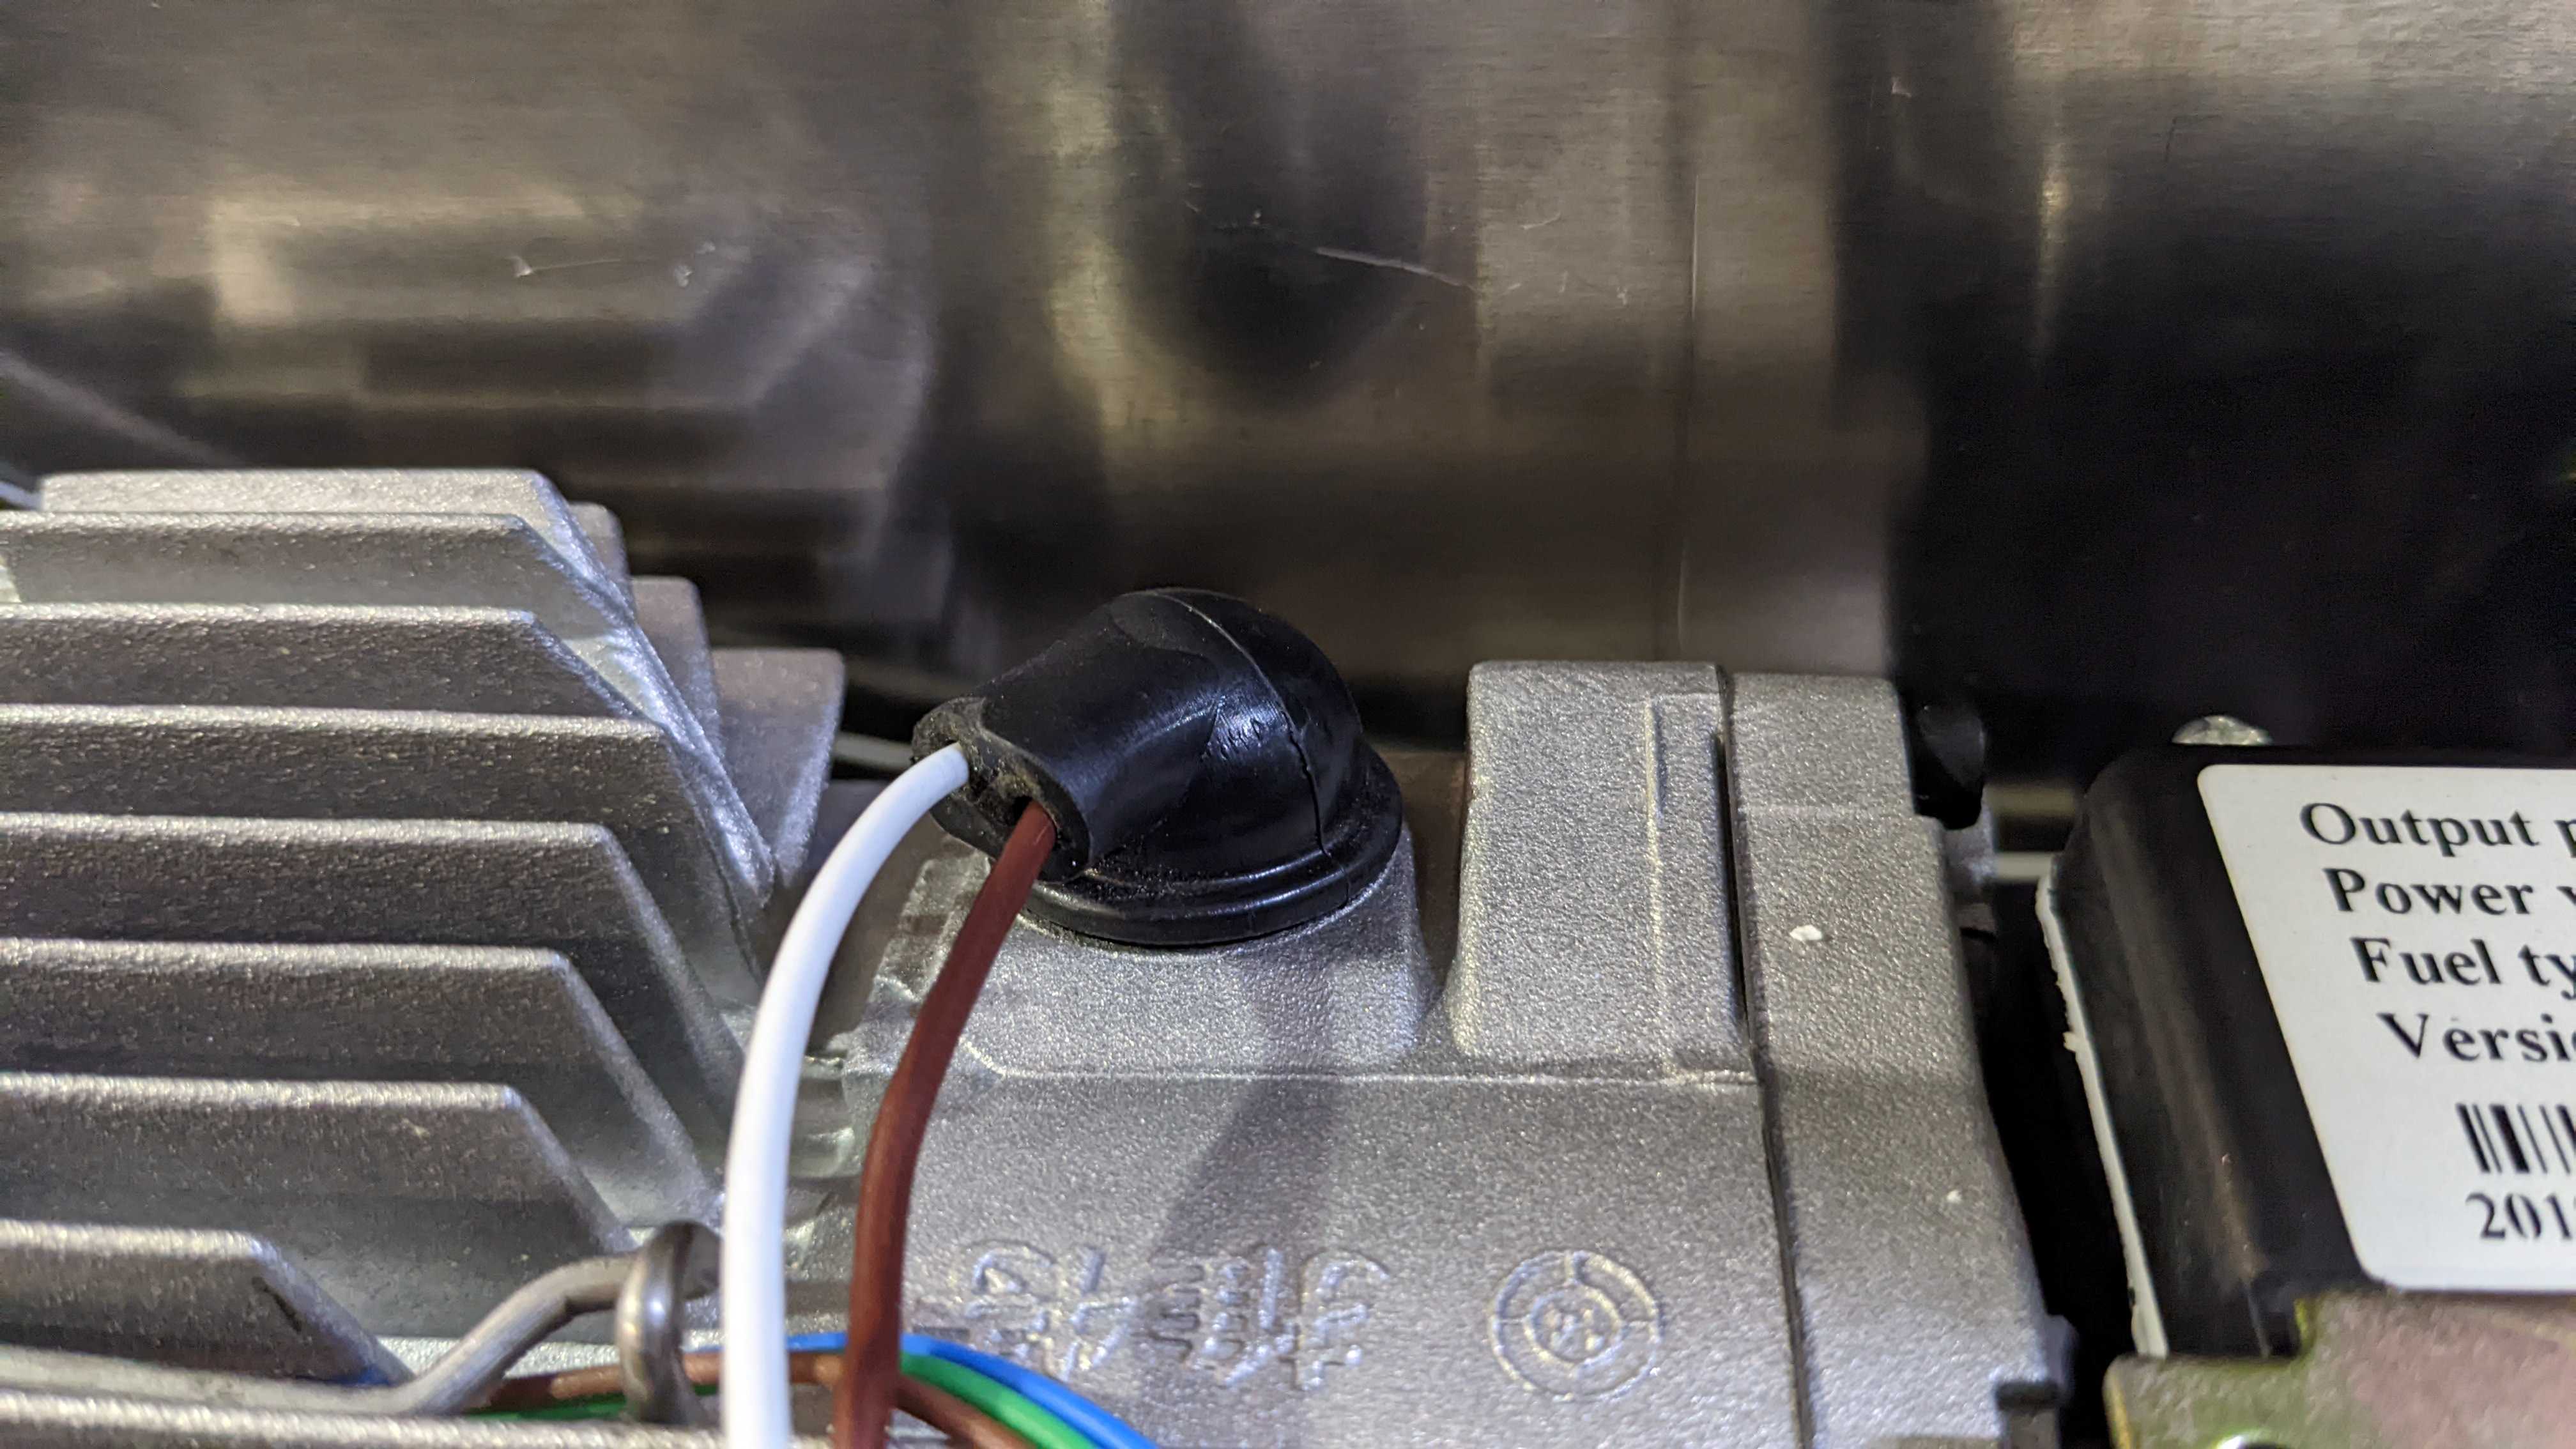
11. Plug all four connectors back into the CPU as shown.
NOTE: Ensure all connectors are firmly pushed in before assembling the heater!!
Failure to do so will cause an error light once the heater is restarted.
12. Secure the CPU with the single Philips screw.
NOTE: Ensure all connectors are firmly pushed in before assembling the heater!!
Failure to do so will cause an error light once the heater is restarted.
13. Attach the top cover back onto the heater
14. Connect the CPU back to the main wiring harness
15. Install the inlet elbow or the circular grill back onto the heater
16. Restore all 12V and 240V power to the dryer and air heater.
Testing
Test the dryer once the heater has been re-assembled and the dryer has been re-installed into the vehicle.
1. Start a drying cycle by pressing HOT three times, then press START. Check that the red LED light is on and solid (i.e. not flashing).
2. Watch the system for at least 10 minutes and check whether the LED has begun flashing again.
- If the LED light is not flashing, check that the inside of the drum is hot. If it is, the procedure is successful.
- If the LED is flashing, log how many times the light is flashing. Refer to the Waru Dryer Troubleshooting article.
NOTE: If the LED is flashing immediately after completing this procedure, it's likely the CPU plugs have not been installed correctly and will need to be checked prior to proceeding.