Check the display for faults
SAFETY CALLOUTS | ||
Be mindful of your footing when entering or exiting the van. Ensure you use 3 points of contact to enter or exit the van. |
KEY INFORMATION | ||
Heading | Notes | |
Pop-up fault messages | A warning may pop up to notify of a fault, usually accompanied by a beeping sound. | |
Accessing the faults log | If there’s an issue but no fault has popped up on the display, navigate to the fault log (see instructions below) to view active and past faults. | |
VOLUNTEER CHECK-IN | ||
Before completing work, please ensure the person(s) completing work feels comfortable and safe to commence work. |
INSTRUCTIONS | ||
Navigate to the fault log | ||
Step | Instruction | Photo |
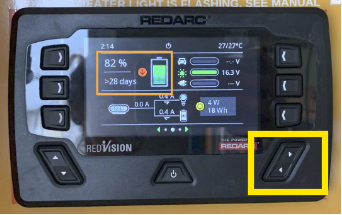
1 | From the home screen, press the left arrow button once. This button is located at the bottom right of the display. | |
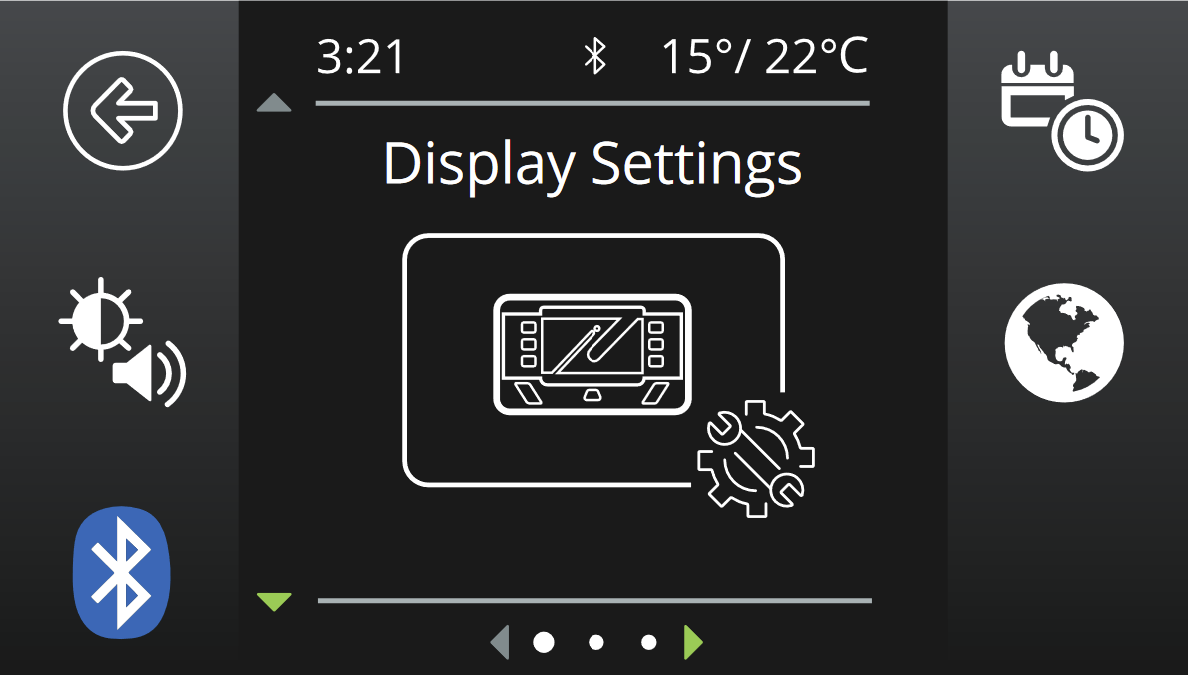
2 | The display should read, ‘Display Settings’. | |
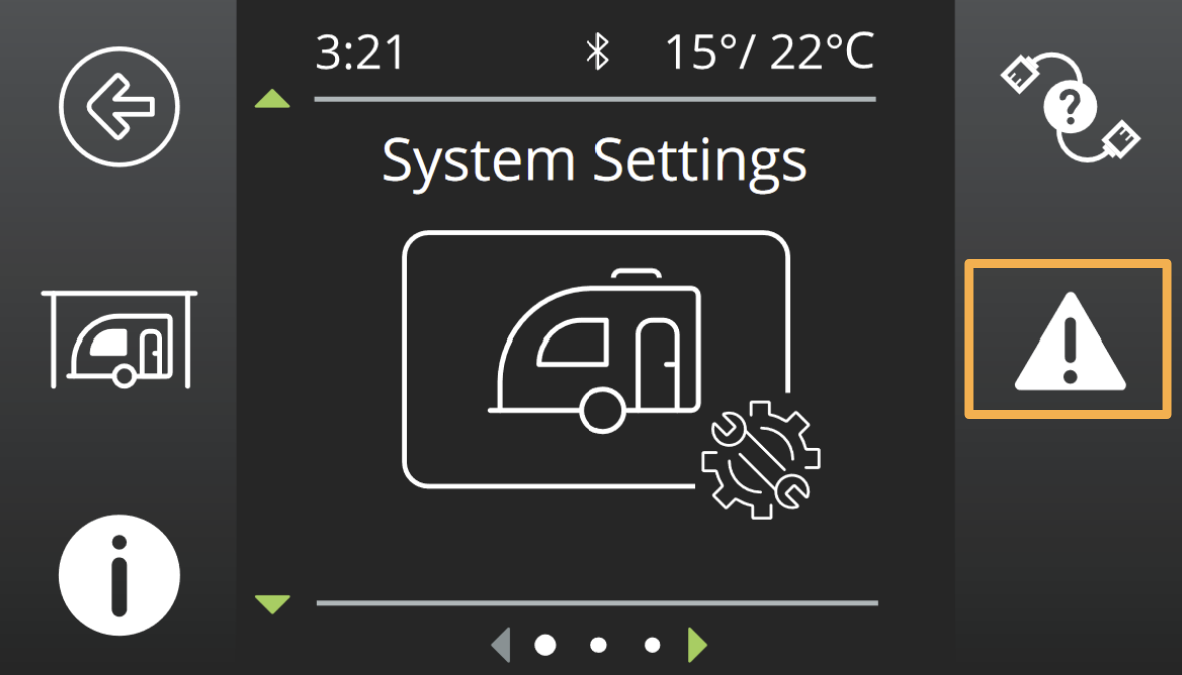
3 | Now, press the down arrow button multiple times until the display reads, ‘System Settings’ Use the keys at the side of the screen to select the fault indication icon. | |
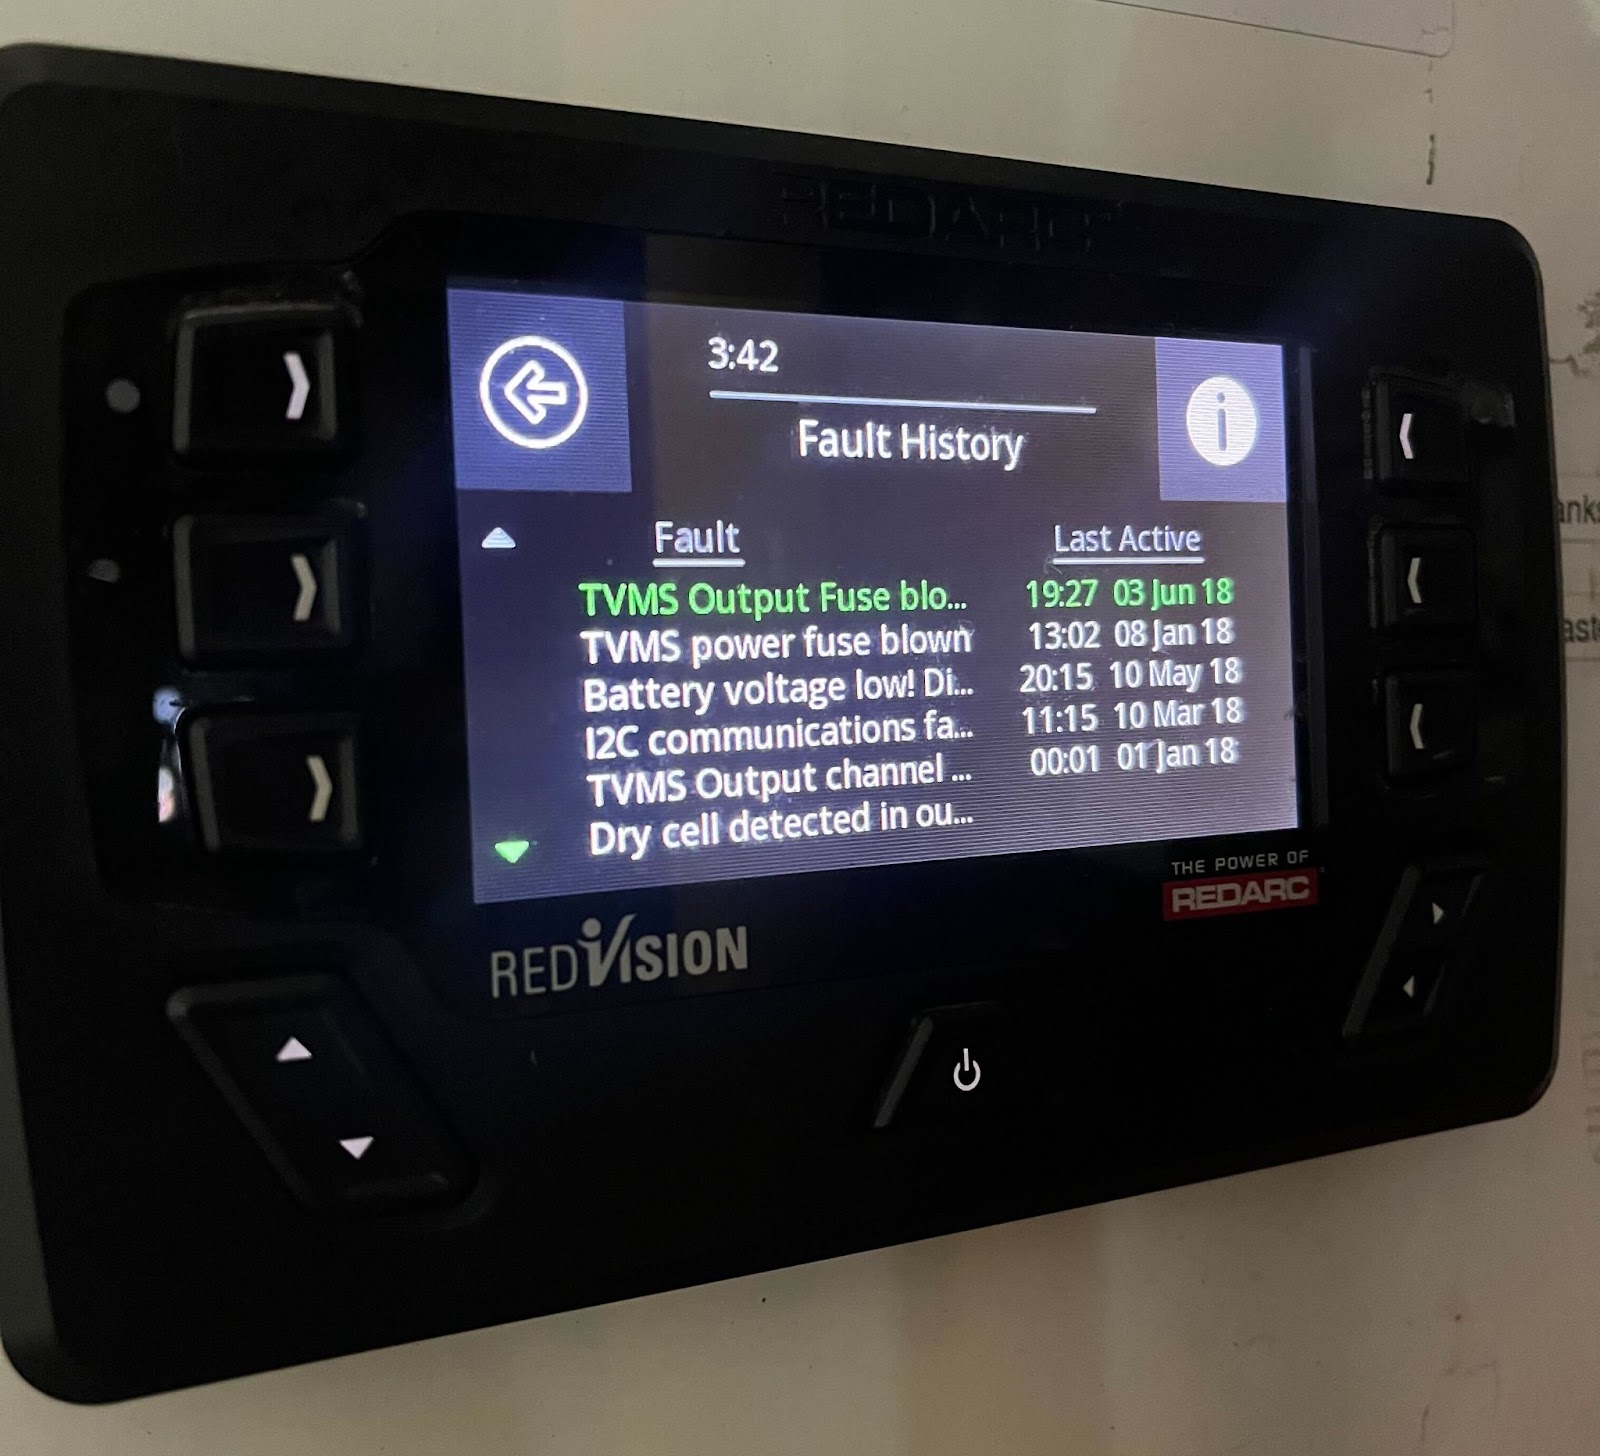
4 | You will now be looking at the fault history screen, which will list the fault. Find the corresponding fault guide below to what is listed on the display. | |
State of Charge (SoC) - Low battery level | ||
Step | Instruction | Photo |
1 | A state of charge fault means that the battery level is low and the system will switch off soon. Charge the vehicle to resolve the issue. | |
TVMS output channel over temperature | ||
Step | Instruction | Photo |
1 | The system has picked up a fault with one of the electrical components. The system will turn off the affected component for 60 seconds and then restart it, to see if the fault clears. If the fault continues please submit an incident report. | |
Blown Fuse | ||
May require:
| ||
Step | Instruction | Photo |
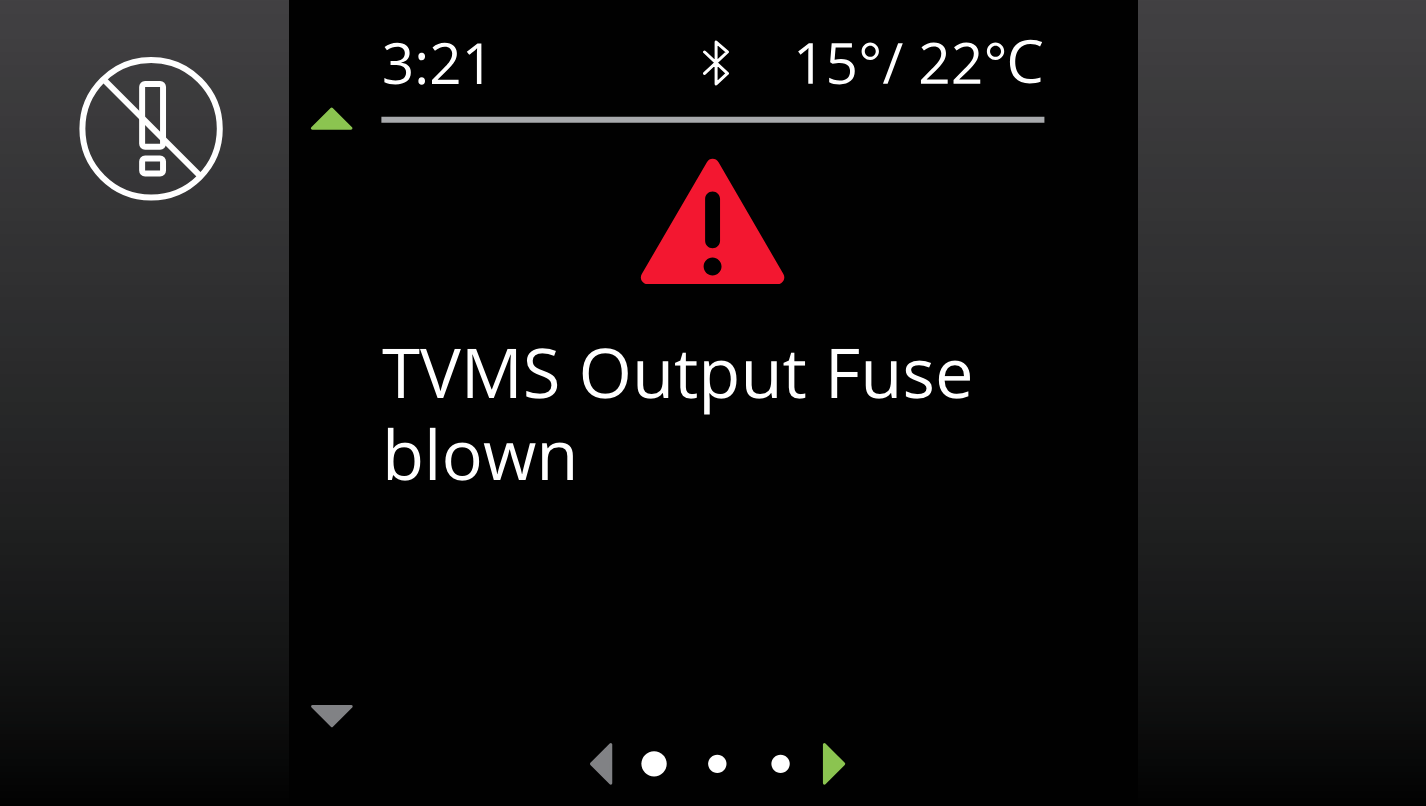
1 | TVMS Output Fuse blown means a fuse has blown. Refer to the SIG: Fuse reset and replacement. | |
No Battery Percentage | ||
Step | Instruction | Photo |
1 | Charge the vehicle immediately. If there is no battery percentage appearing on screen by the end of shift, submit an incident report. | |
Bad Output Cable Detected | ||
Step | Instruction | Photo |
May require:
| ||
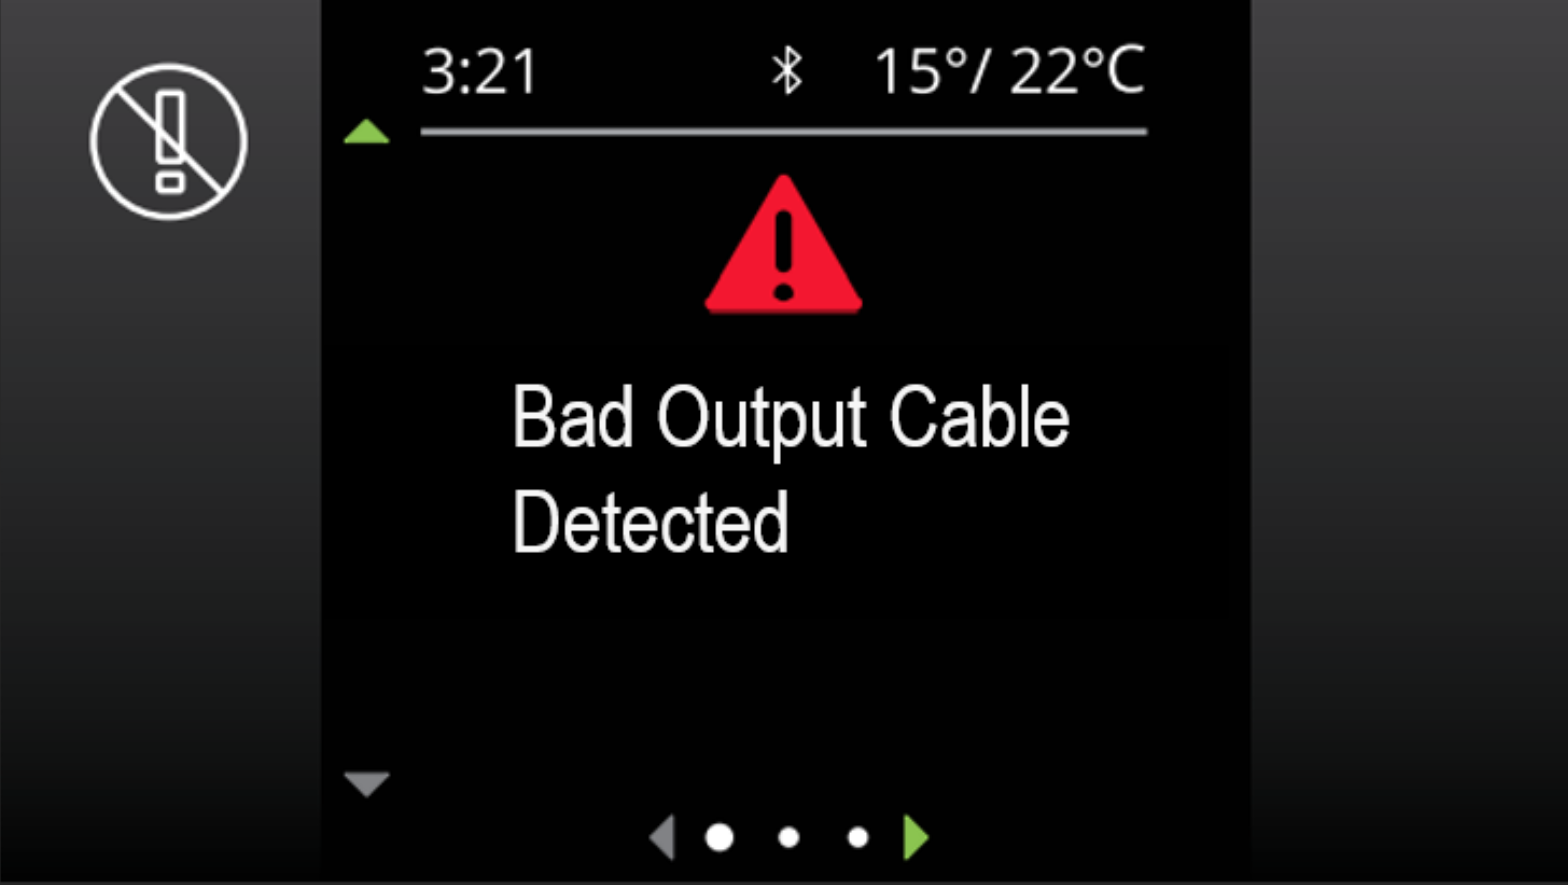
1 | If the batteries won't charge and/or the screen starts to freeze intermittently, the error, ‘Bad Output Cable Detected’ may pop up. | |
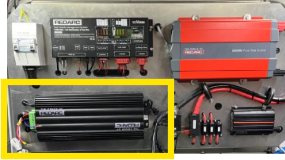
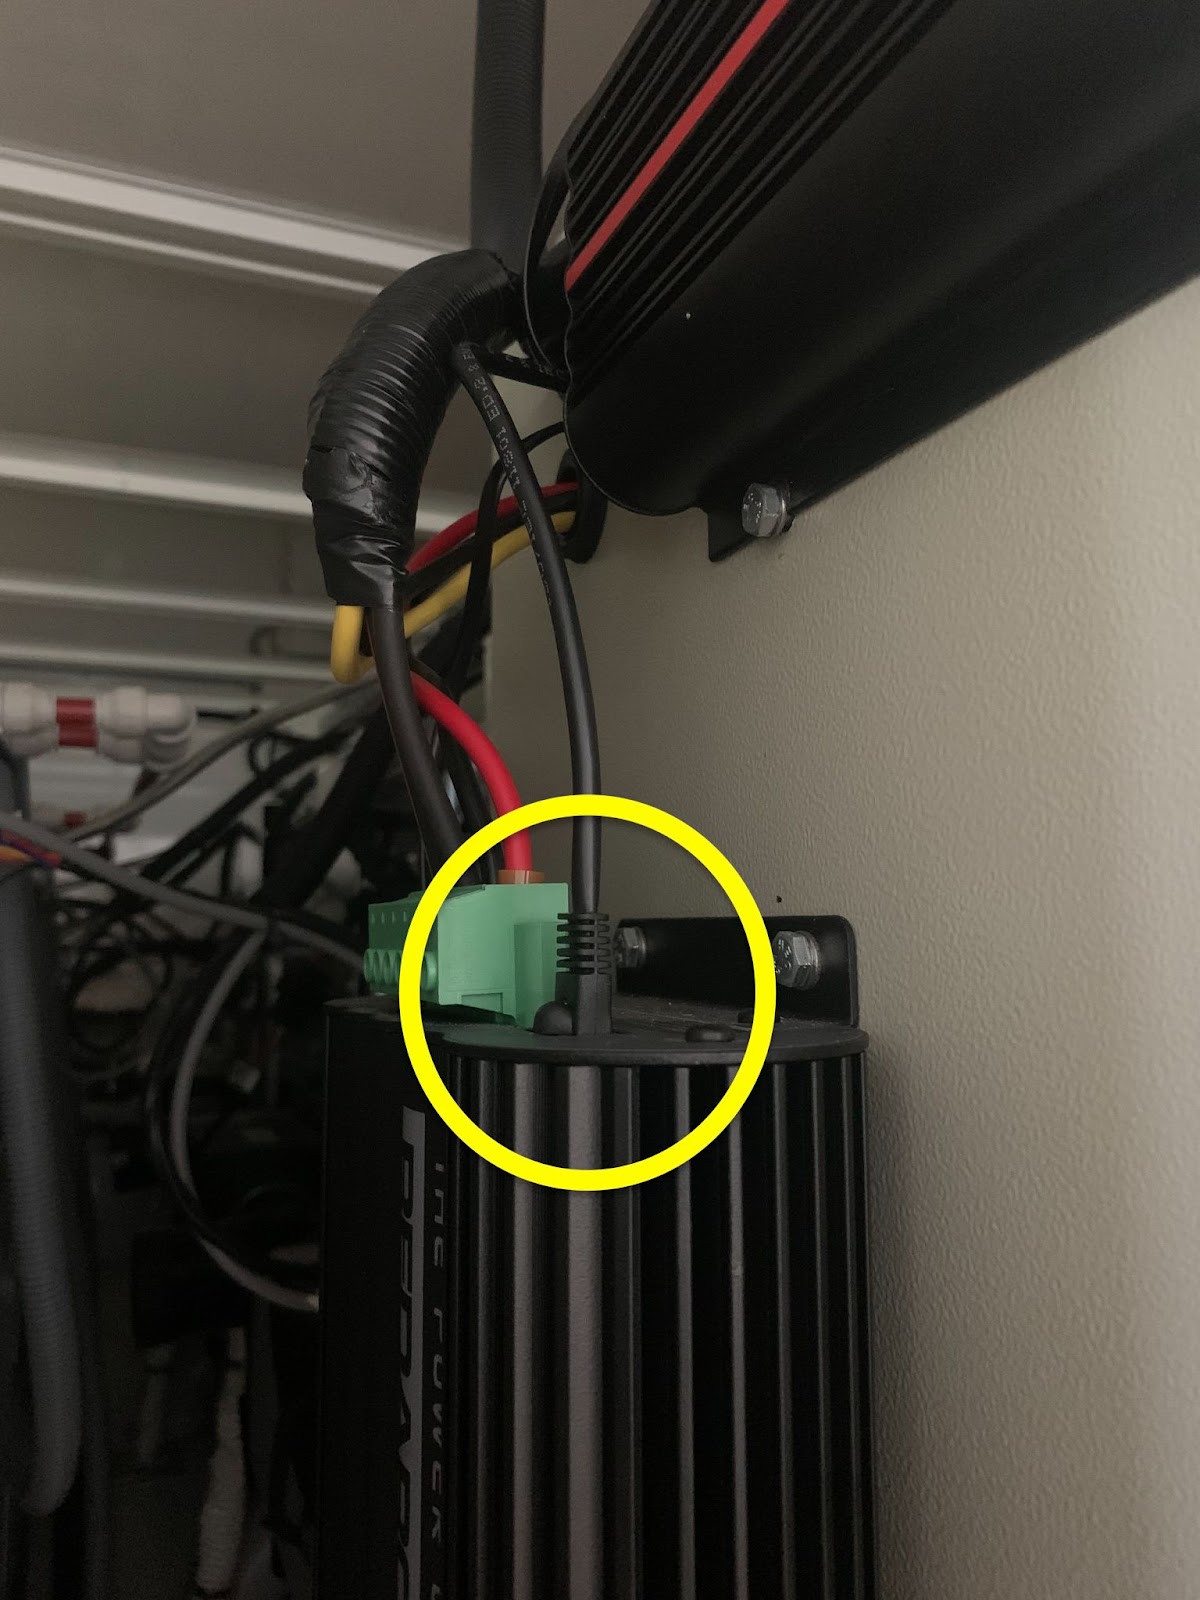
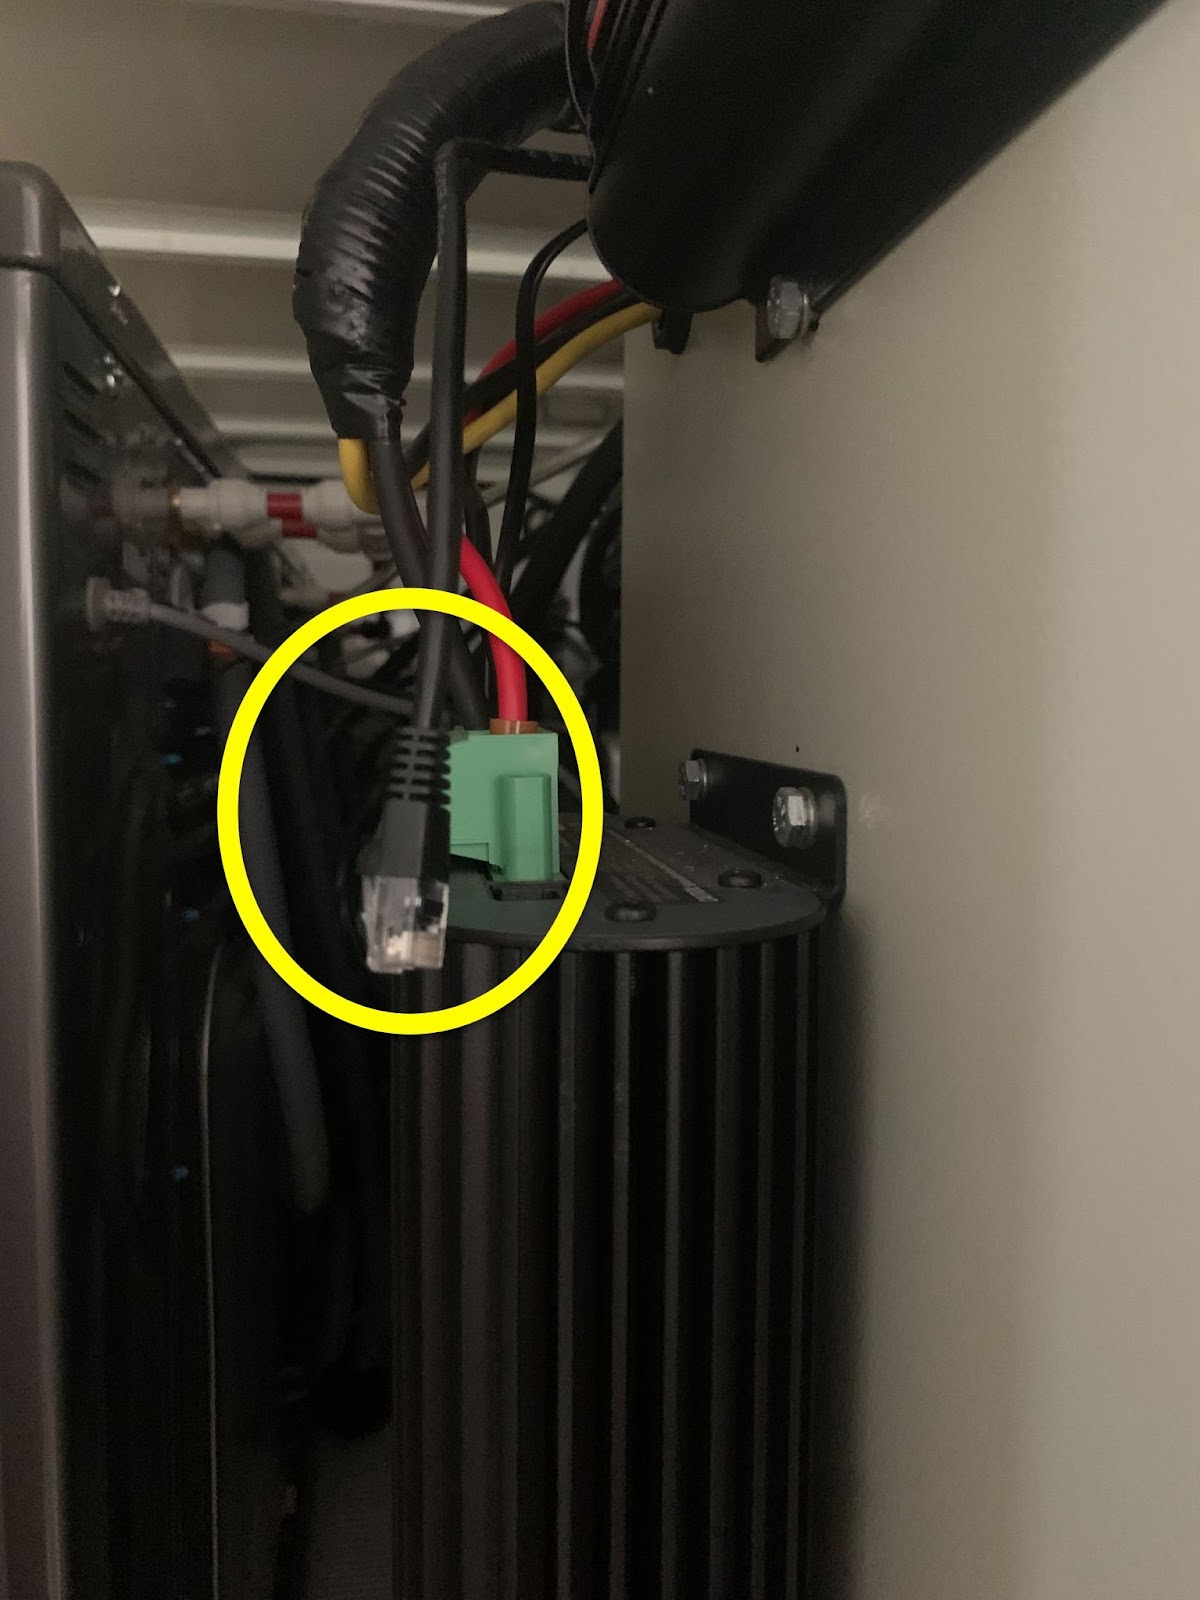
2 | Locate the BMS (battery management system - pictured) and find the black cable pictured. It will be beside a green connector. | |
3 | Remove the cable for 30 seconds then reinsert it. | |
4 | Check the display to see if the fault notification has cleared. If the error persists, submit an incident report and continue shift. | |
Other faults | ||
Step | Instruction | Photo |
1 | If the electrical system appears to be functioning normally, take a photo of the fault notification or note down the fault and resume shift. Submit an incident report and note what the listed fault was. | |